Creating your app
Visit the Kit App Store by going to “Automate” in the top navigation menu, followed by Apps. From there, select the Build tab, and click + New app at the top right.
Preview the app details page by clicking your app’s “Preview” option in the “Build” tab of the Kit App Store. 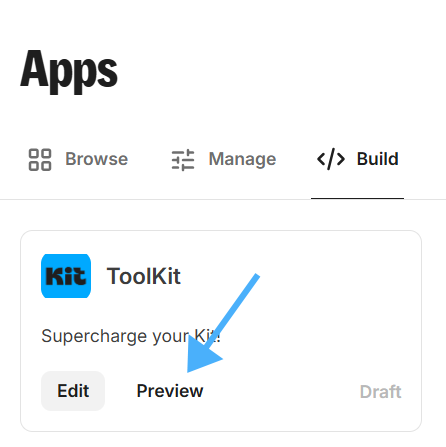
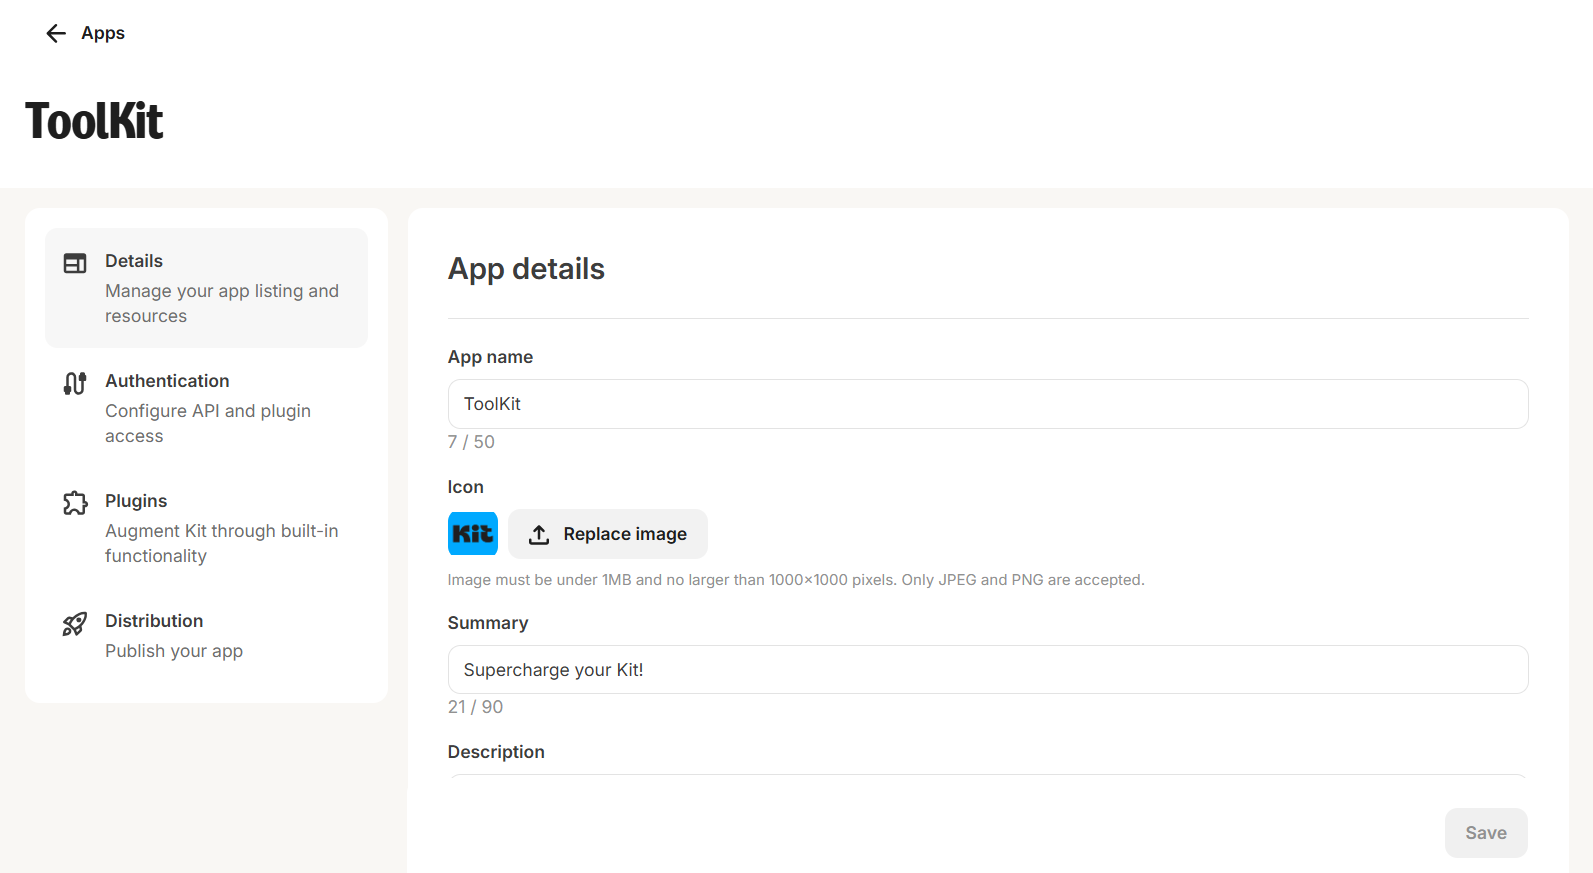
App name field is required when you create and test your app. But you’ll need to provide more information before you can publish the app to the Kit App Store. This information includes:
- Icon
- Summary
- Description
- Resource links
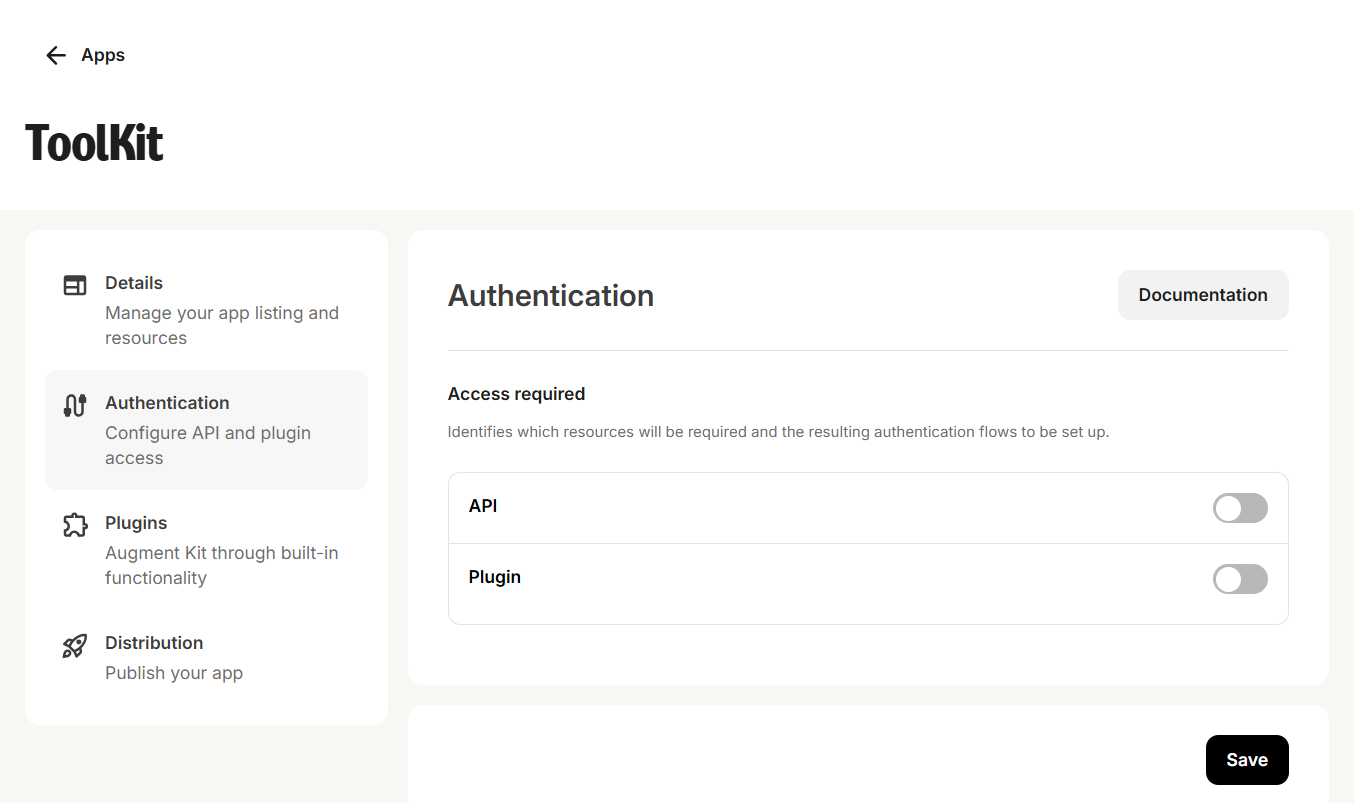
API and plugin access
An app can contain either API access, one or many plugins, or both. Here are the key differences:- API access: You can allow creators to install apps that can link together external platforms to work in harmony. We control authentication here and developers have to request access on behalf of a creator to us to approve. This is all built upon V4 of our API.
- An example API only app would be TeachKit - that solely utilizes the Kit APIs to manage subscribers that use TeachKit’s free online courses.
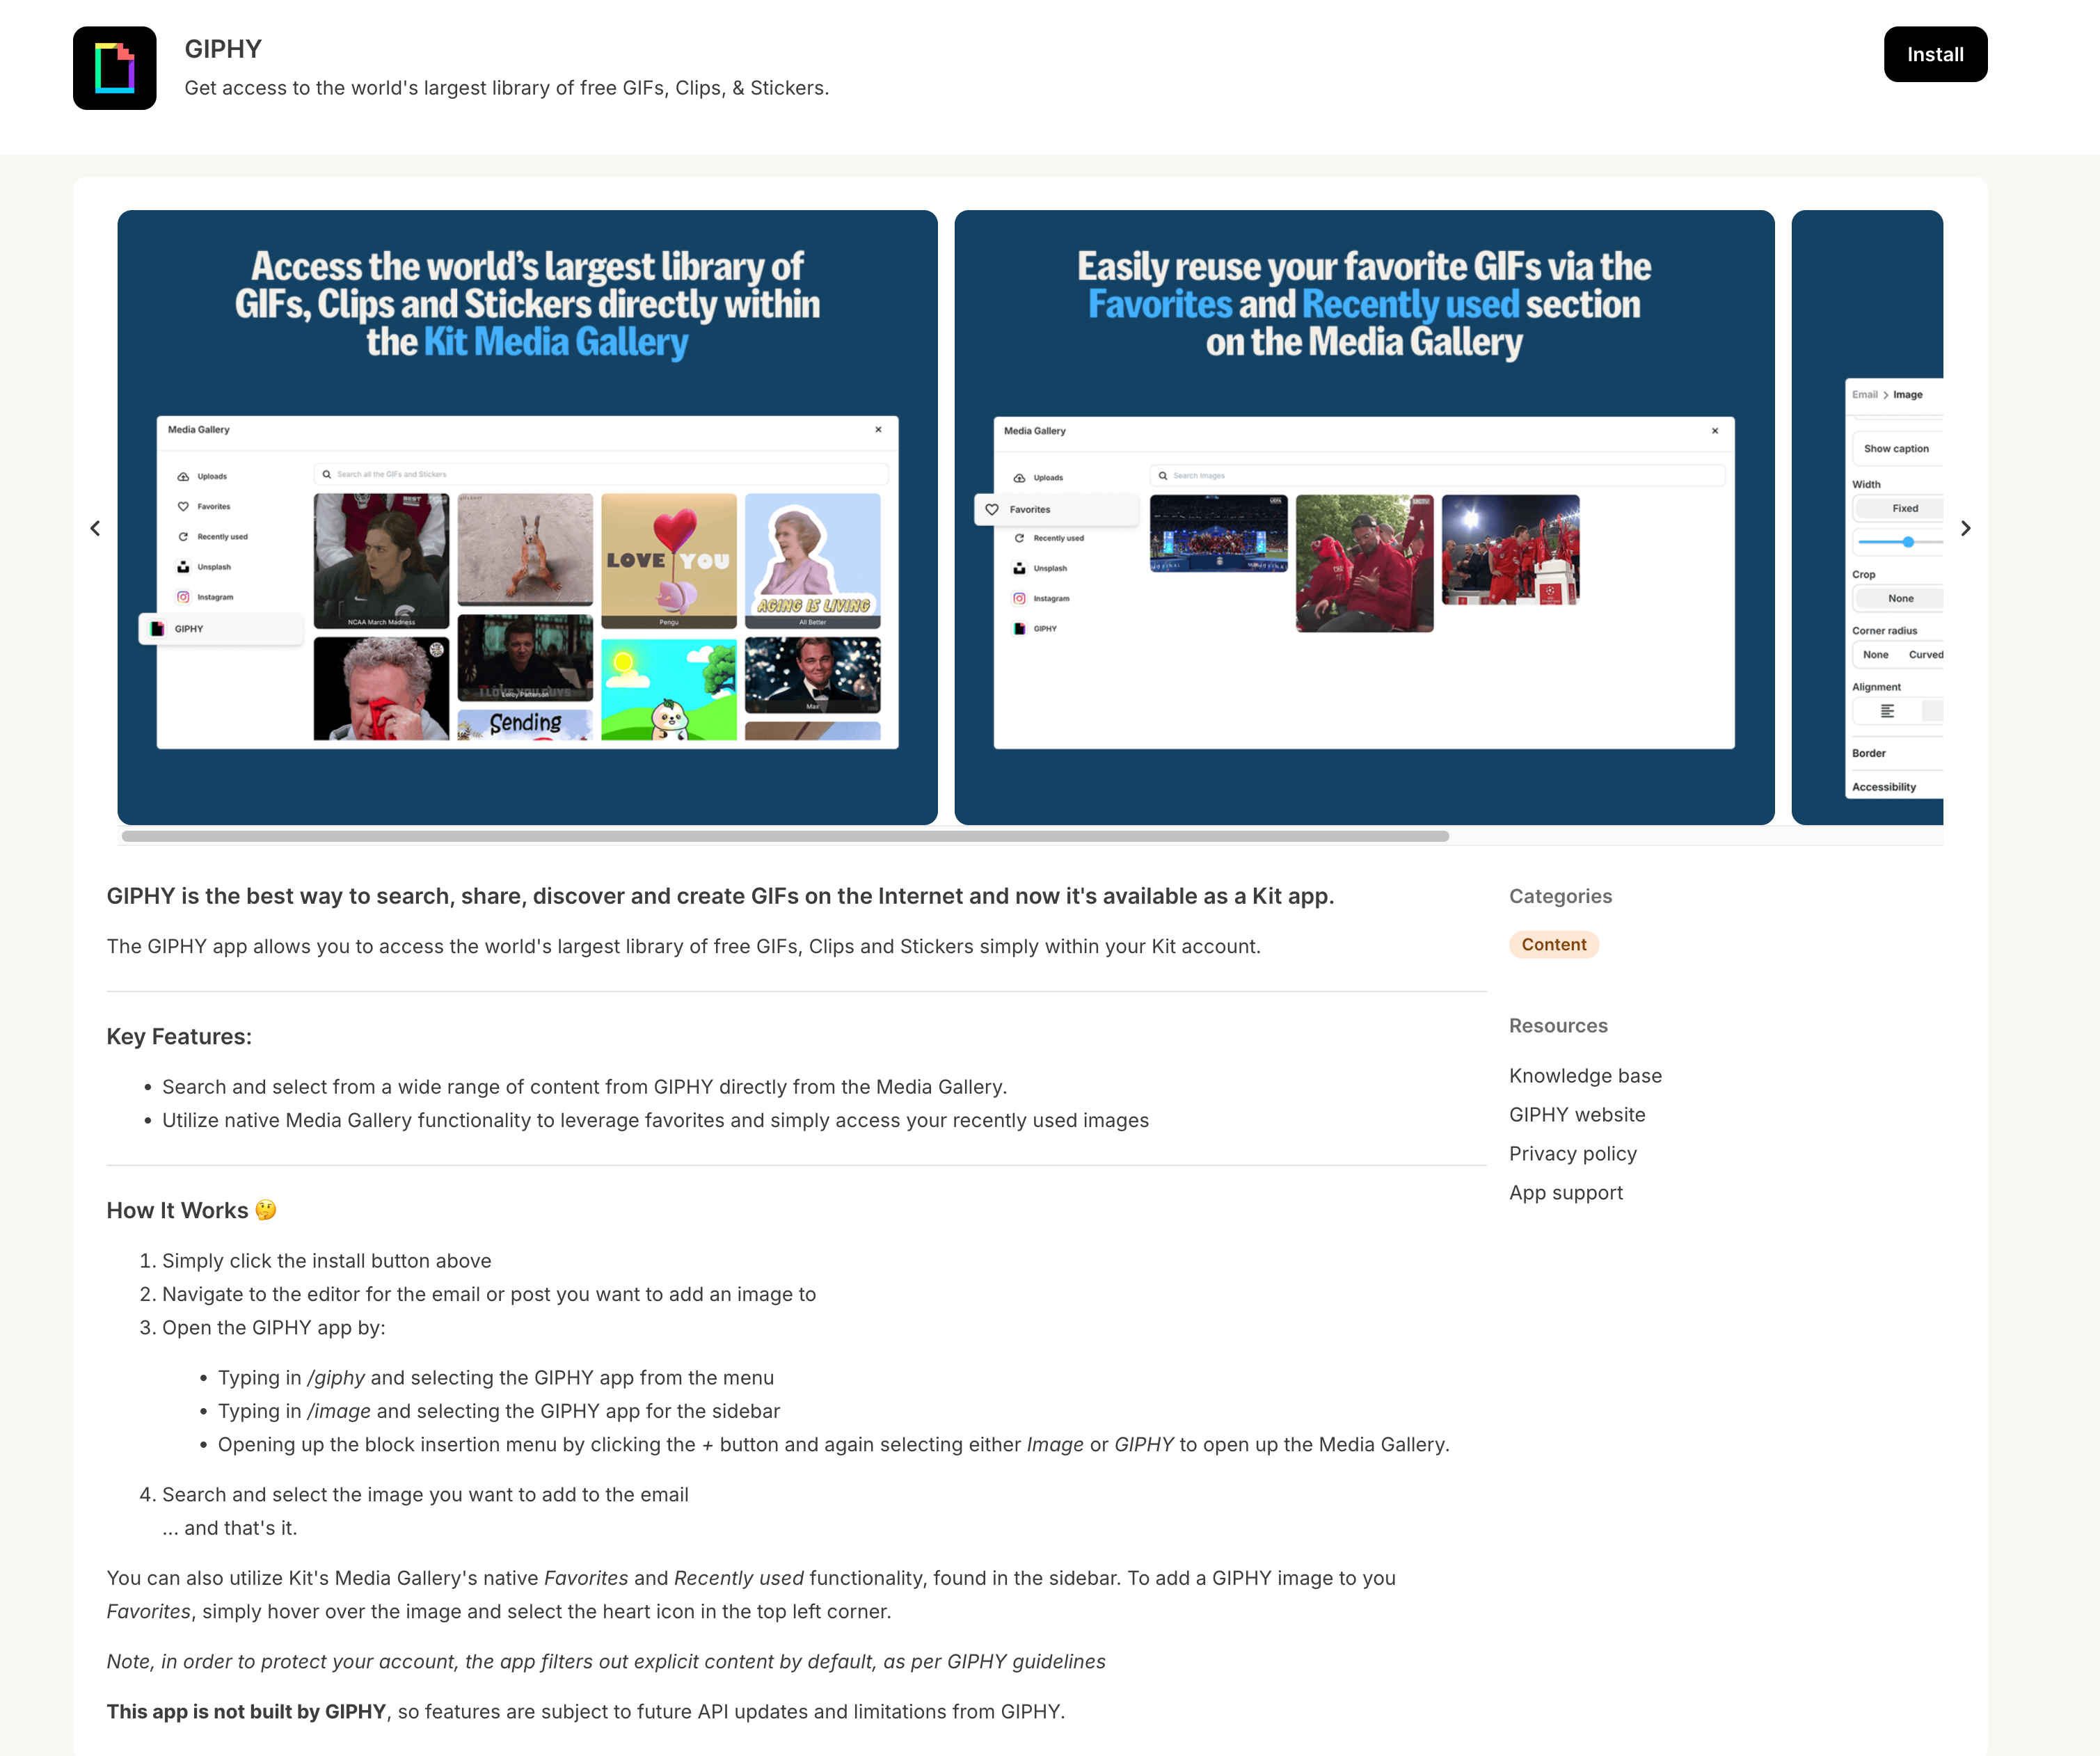
- Plugins: You can add content directly into the Kit app UI. Kit needs to authenticate against the third party to be able to pull the data required to be rendered within Kit.
- An example plugin only app would be GIPHY - which utlises the media source plugin to allow creators to insert gifs directly from GIPHY into their email content. No additional API access is required for this app.
- Both: You can also have apps that combine API and plugin access, with apps such as Mighty Networks offering subscriber and tag syncing alongside content block plugins, helping creators manage and promote their communities through Kit.
Testing your app
View your apps on the “Build” tab of the Kit App Store. You’ll be able to see:- Whether you have installed the app—from the display of the green installed tick, or
- Whether it is a draft, from the “Draft” badge in the bottom corner. When is the “Draft” status, only you are able to see the app in your own account.
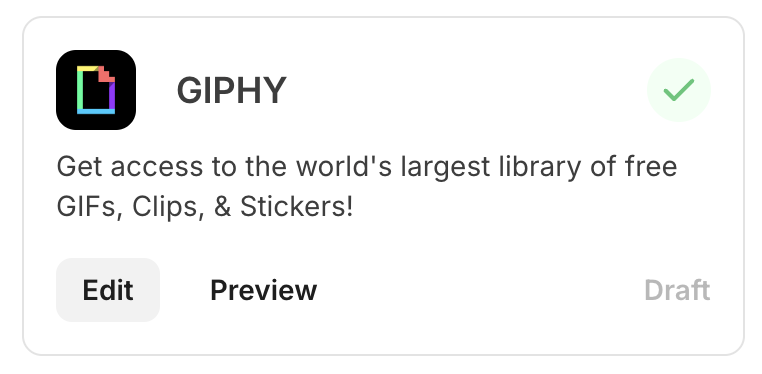
The app will not be publically discoverable for other Kit users to install until you’ve published it.
V4 API Keys
Though all apps accessing our API require OAuth authentication before they can be published, a great way of prototyping and testing our API’s functionality is to use V4 API keys. More details on creating and managing API keys can be found here.API keys are meant for individual use only. If you’re creating something for people to use, you’ll need to build an app—giving you access to plugins, bulk and purchase endpoints, higher rate limits, and more.