- OAuth 2.0 for apps available for all creators in the Kit App Store
- API keys for automating simple tools and integrations for your own account
OAuth
We support the Authorization Code Grant and depending on the type of app you’re building we support two ways of issuing access tokens:- For web servers, you’ll use the refresh token flow
- For Single Page Apps (SPA) or mobile apps, you’ll use the Proof Key for Code Exchange (PKCE) flow
Creating and configuring your OAuth powered app
For apps and full API V4 support, you will need to authenticate via OAuth 2.0. In order to set this up in your Kit account, first you have to create an app and turn on API access. Once you have turned on API authentication for your app you will be offered 3 settings to configure:Authorization URLRedirect URIsSecure application
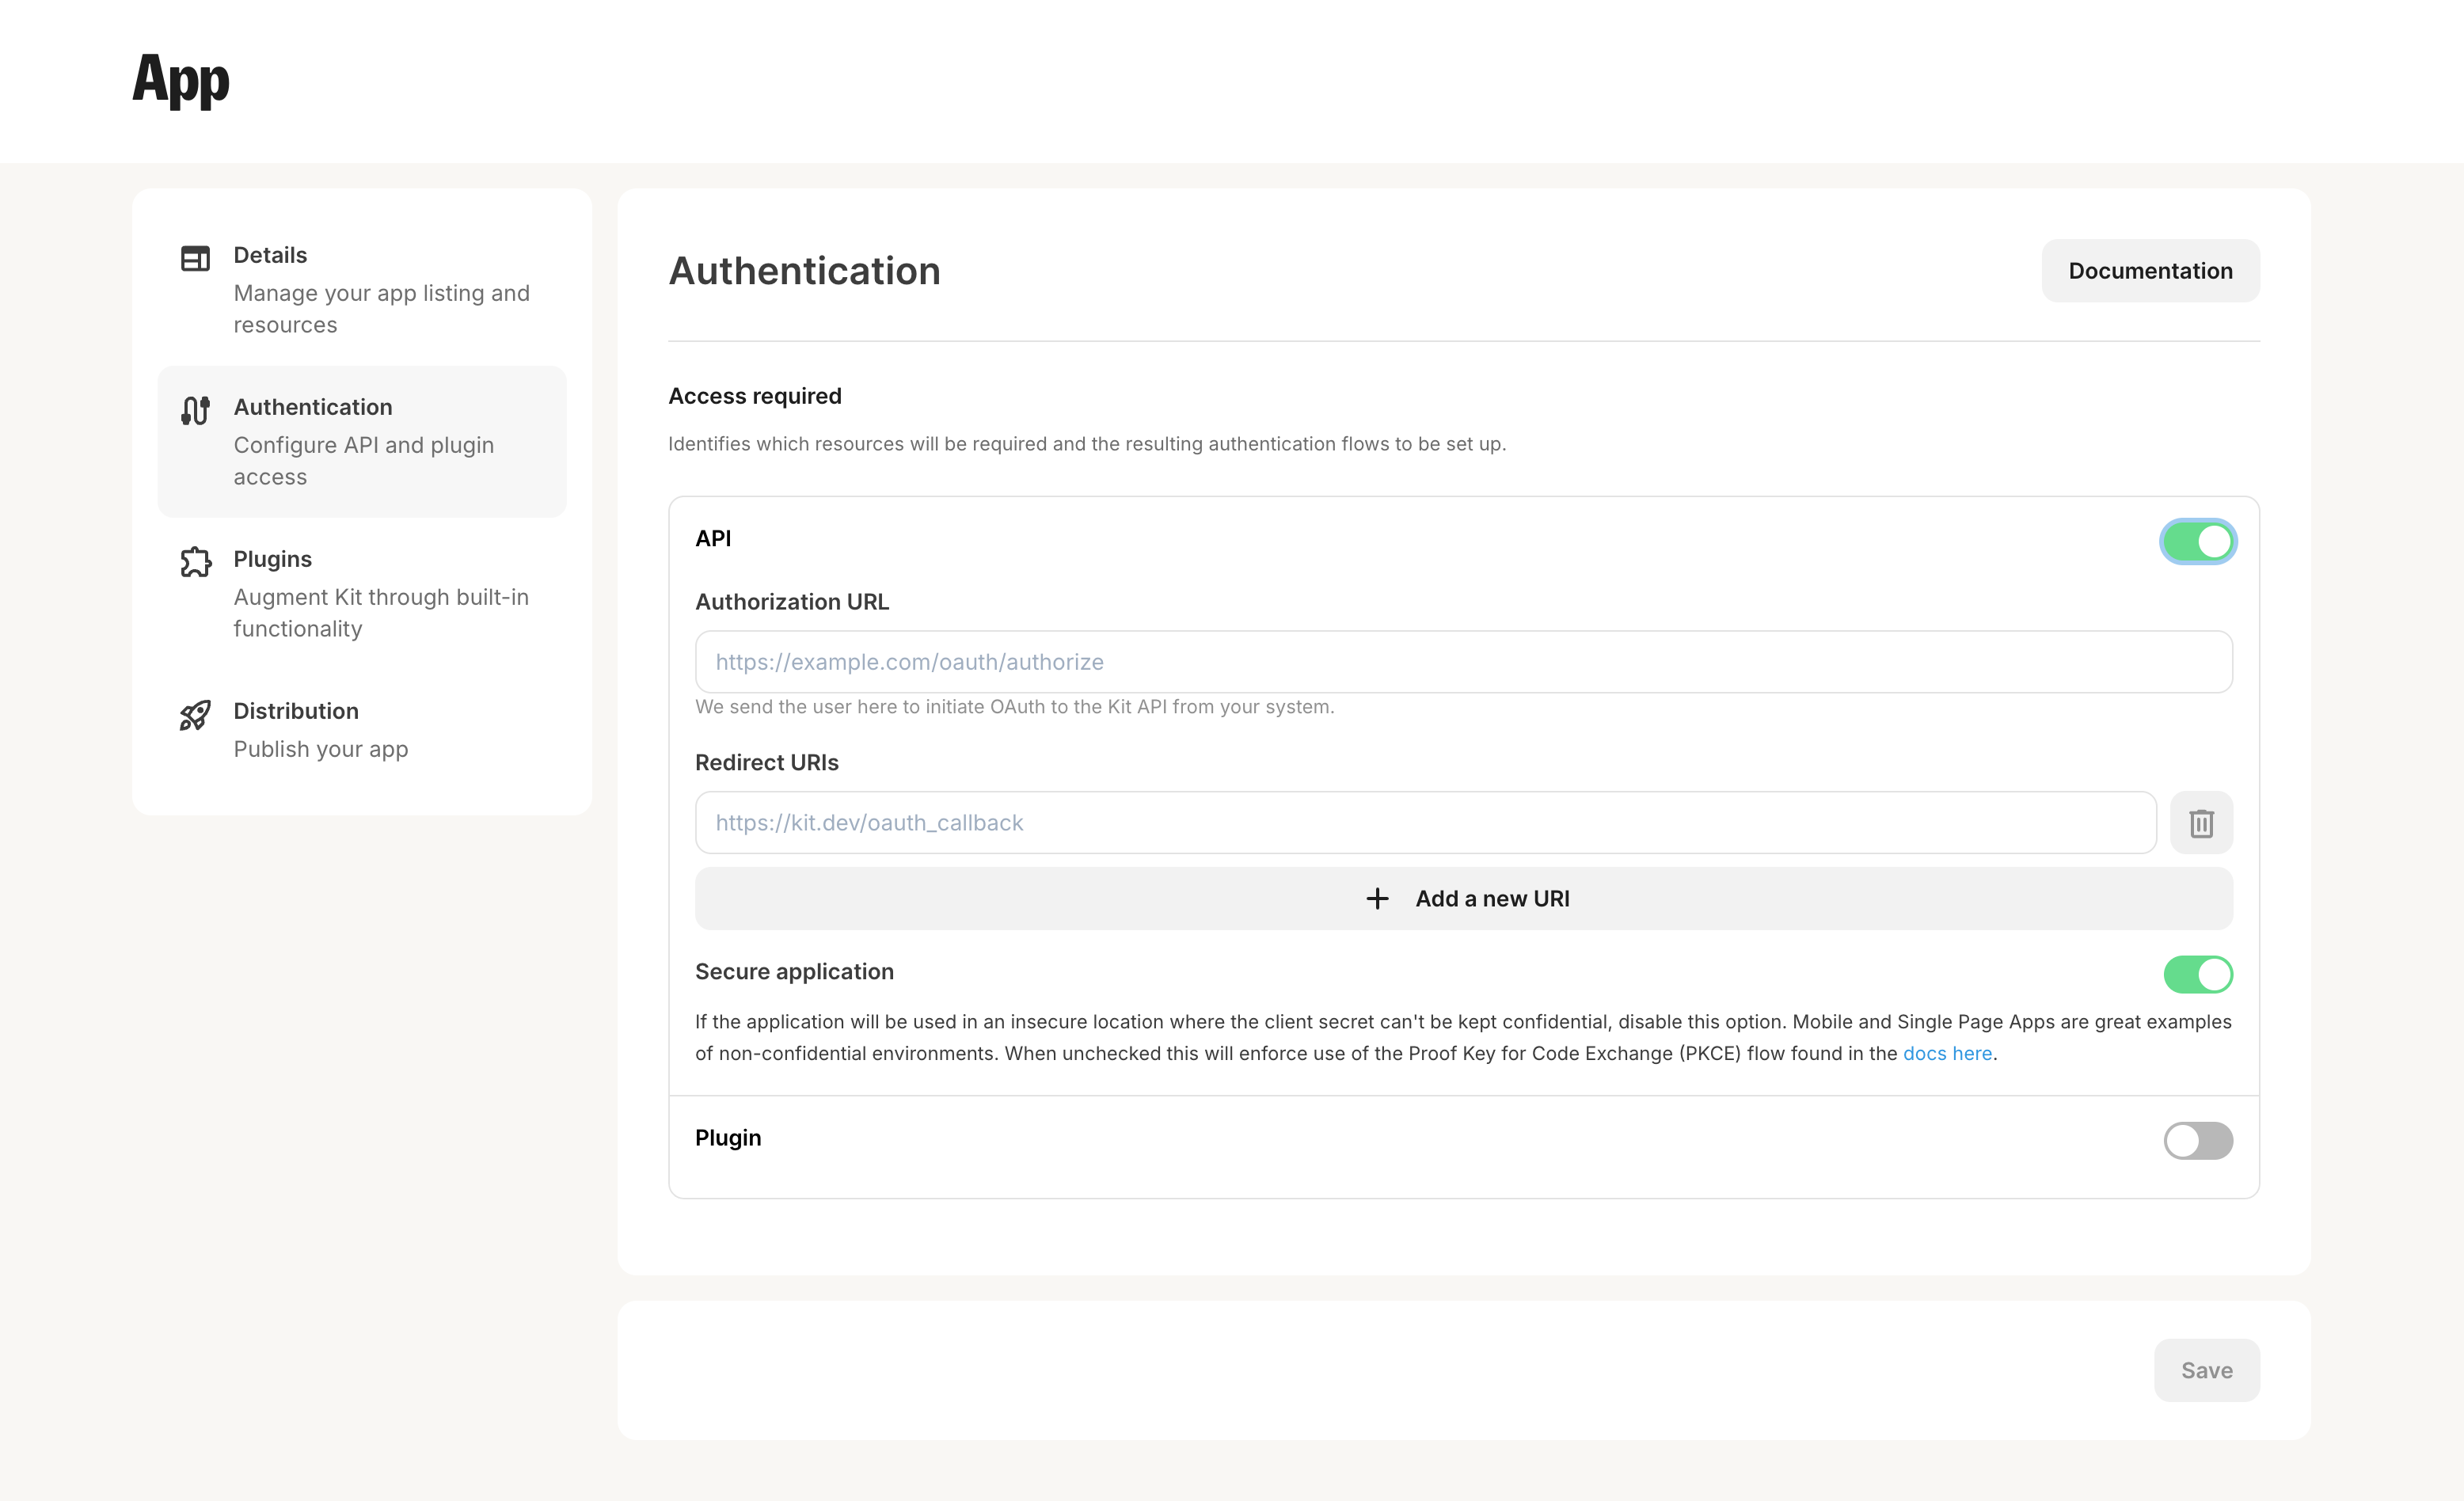
Authorization URL
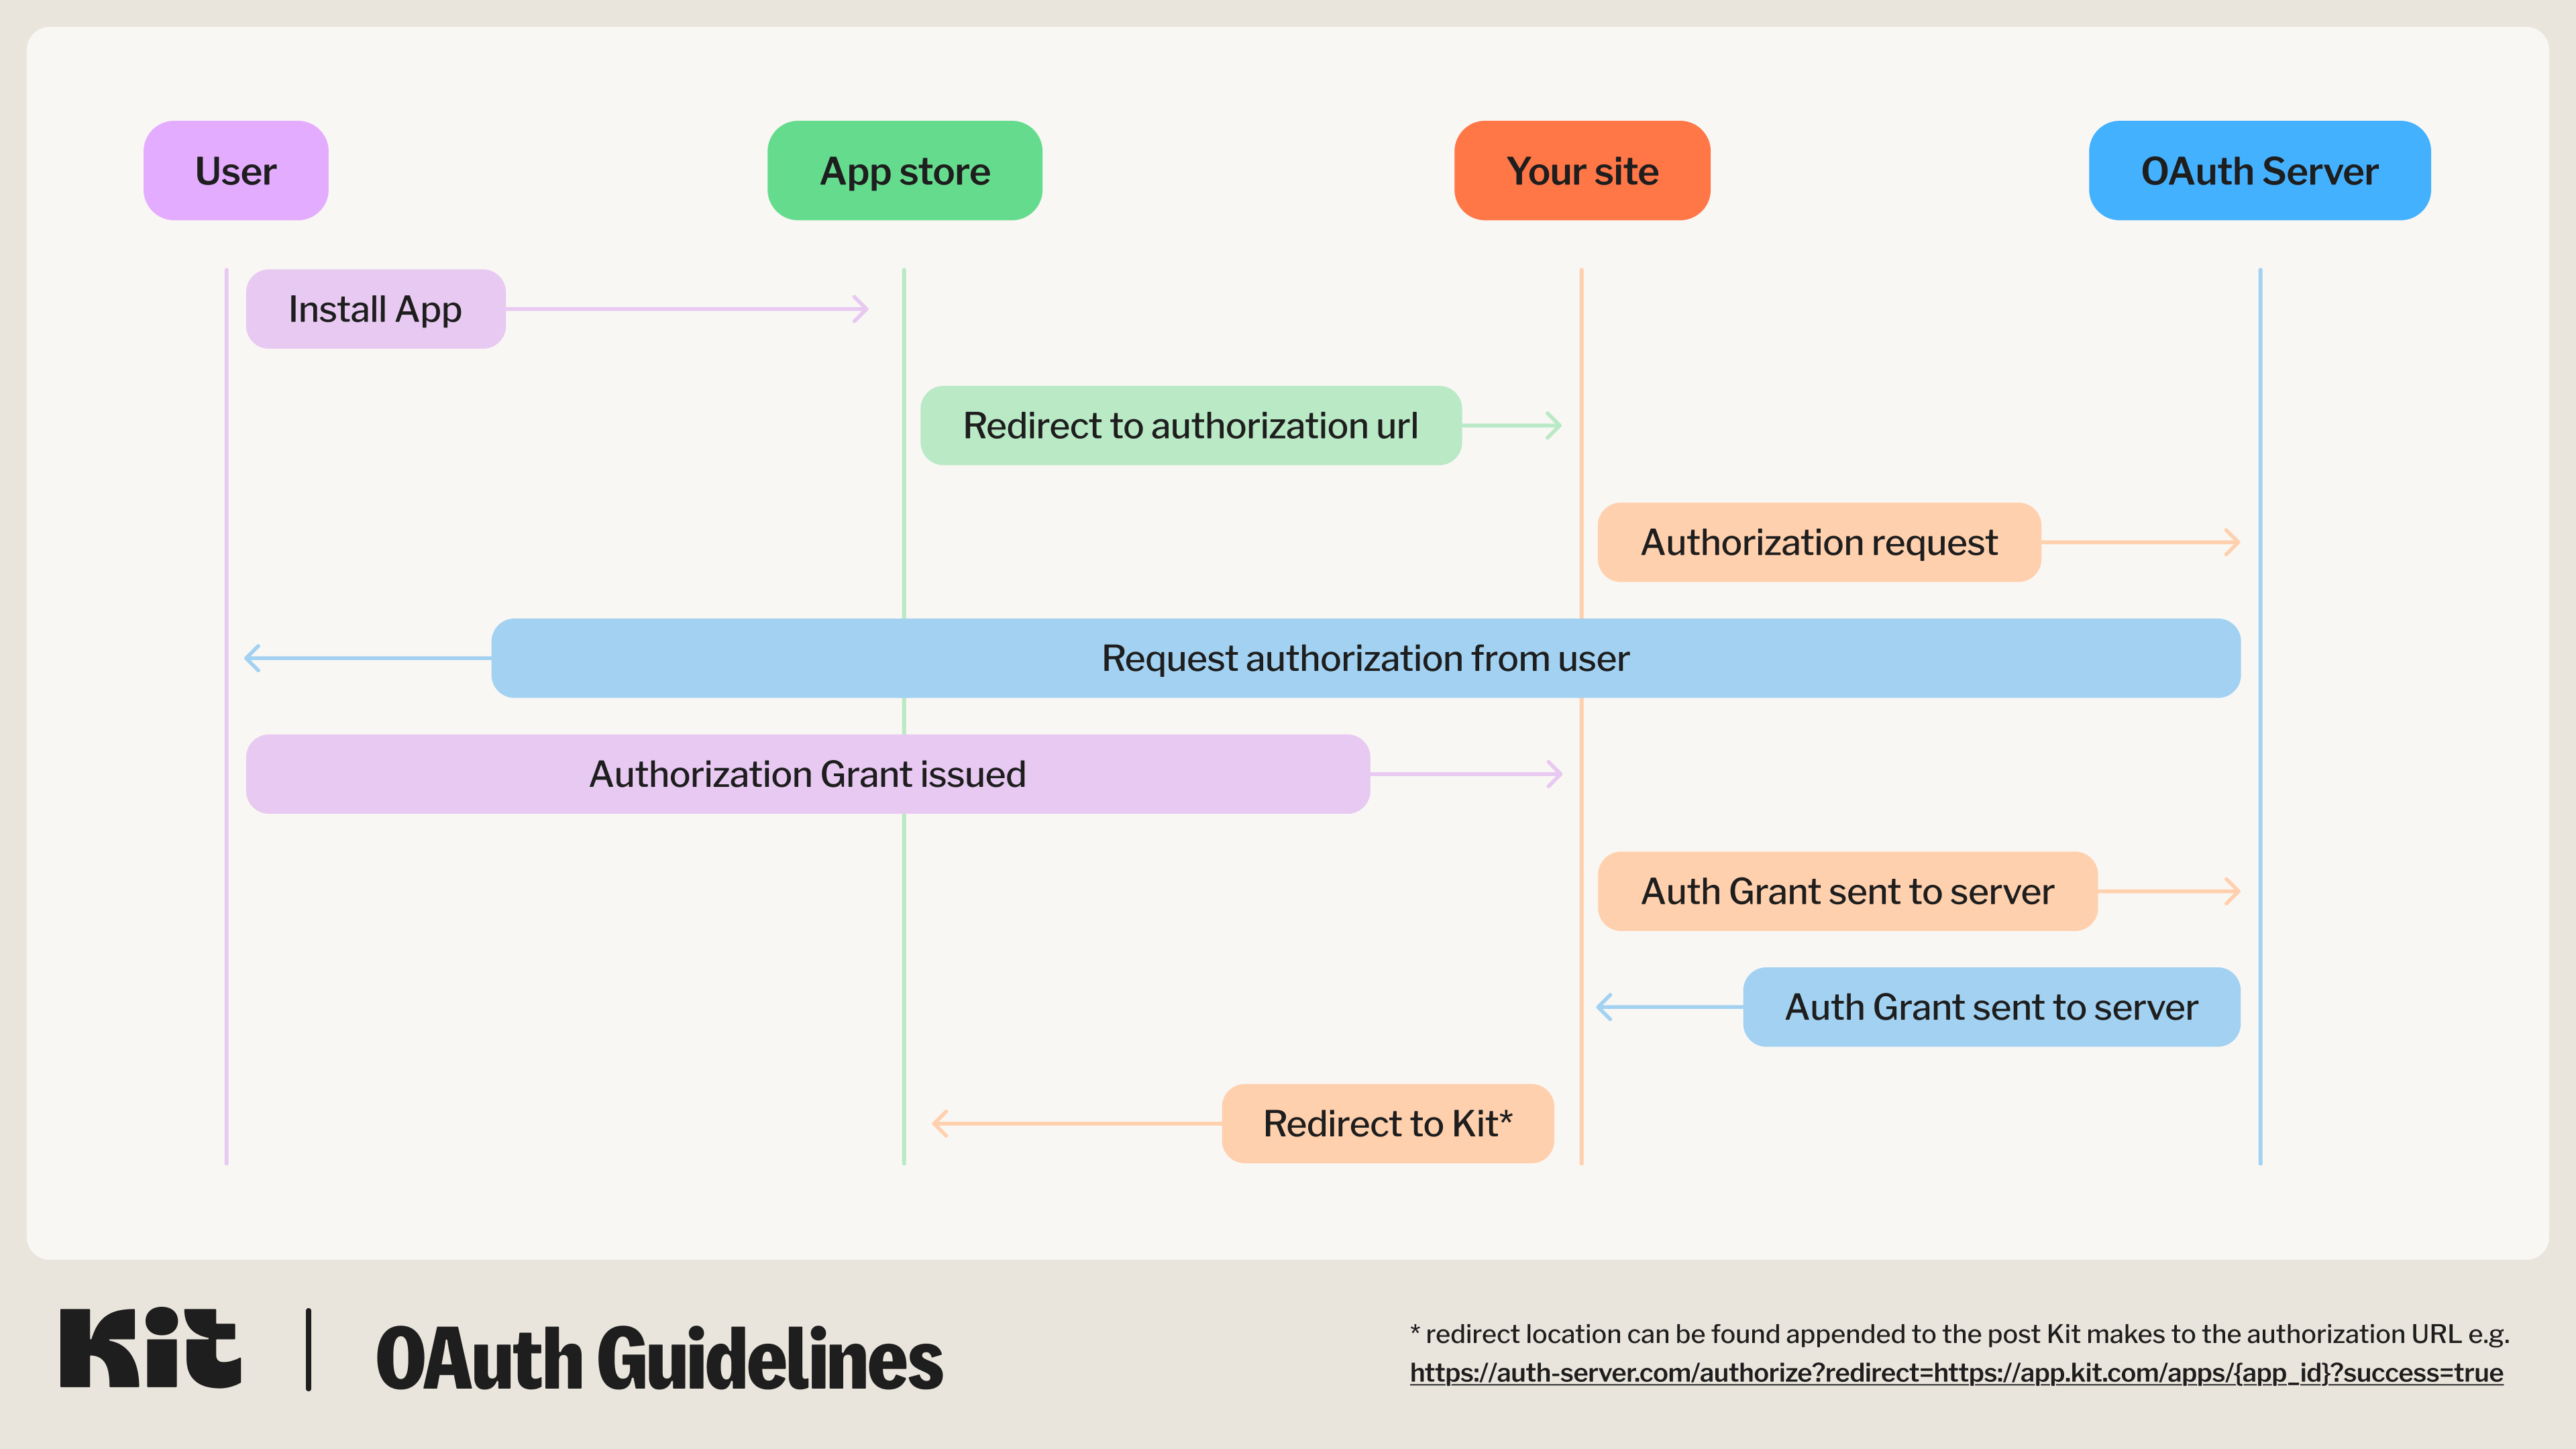
TheAuthorization URL should be a URL on your system that we will link to during app installation so you can initiate OAuth and store the returned access tokens. We will link the user to this URL with a redirect query param, e.g. ?redirect=https://app.kit.com/apps. When the authorization flow is complete, you need to redirect the user back to that provided redirect URL so they can continue their session within the Kit app.
Redirect URI(s)
Once a user has logged in or signed up with your service, you will redirect them back to the Kit OAuth server for the creator to grant access to the Kit API for your service. On this request you will specify the callback URI that Kit will reach out to with a temporary authorization code, that you will be able to exchange for an access and refresh token, once consent is given by the user. For security, the value in theredirect_uri property sent to the Kit OAuth server must match one of the Redirect URIs you have set up in the above app configuration screen.
Secure application
If your app will be used in an insecure location where the client secret can’t be kept confidential - such as mobile or single page apps, you will have to turn this setting off. When unchecked this will enforce use of the Proof Key for Code Exchange (PKCE) flow found above.Post-installation redirect
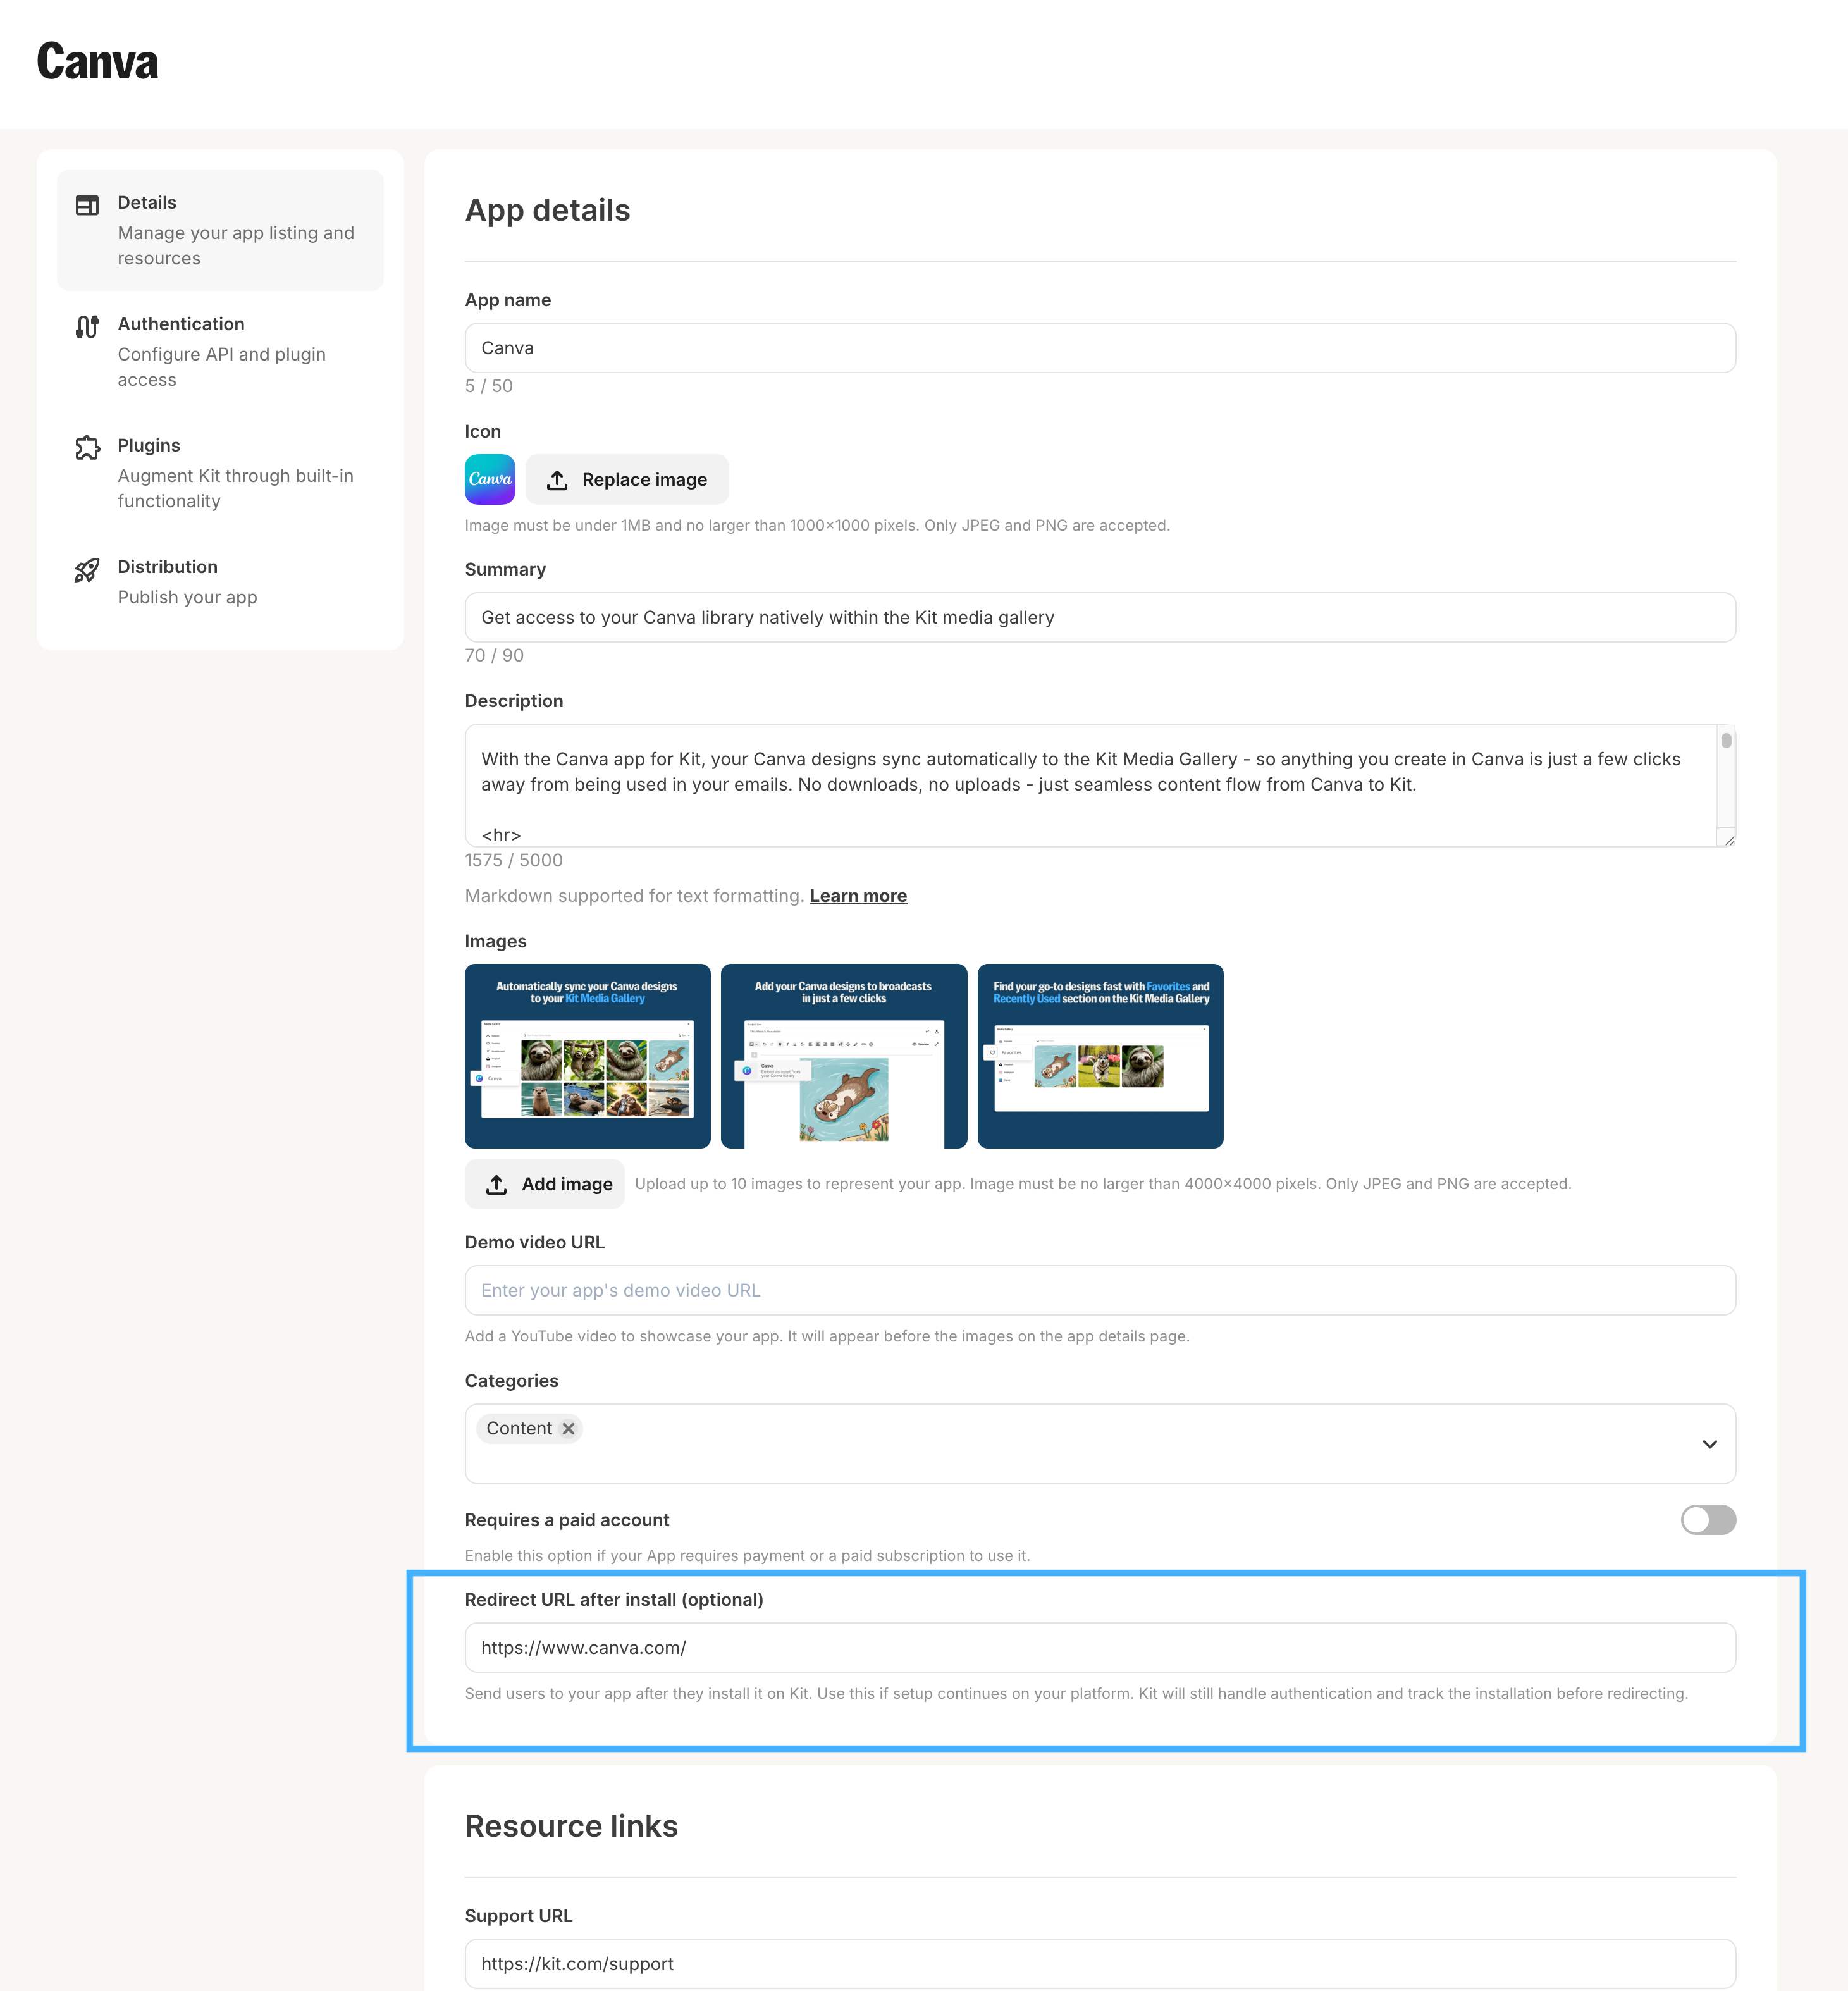
Your app may also include the option to alternatively send creators to your app, or an externally hosted onboarding flow, post signup. This can be configured using theRedirect URL after install field in your app details setting page. An example of this flow can be seen below.
Example redirect flow
Example redirect flow
Redirect flow settings
Redirect flow settings
API keys
API key authentication is the simplest way to access V4 of the API, tailored for programmatic access to your own Kit account for simple account automation, or for pulling account data for deeper external analysis. We do not offer any official support for apps or public integrations that rely upon API keys for authentication - for apps, please follow the OAuth guide below. We also offer some restrictions when using API keys:- When using API Keys, no more than 120 requests over a rolling 60 second period for a given API Key (we offer limits of 600 requests using OAuth)
- Some of our endpoints require OAuth authentication - for example, our bulk and purchase creation endpoints. Please check the endpoint specific documentation for authentication requirements
Creating V4 API keys
To use API Key authentication, you must first create a V4 API Key. To do this, visit the “Developer” tab in your account settings.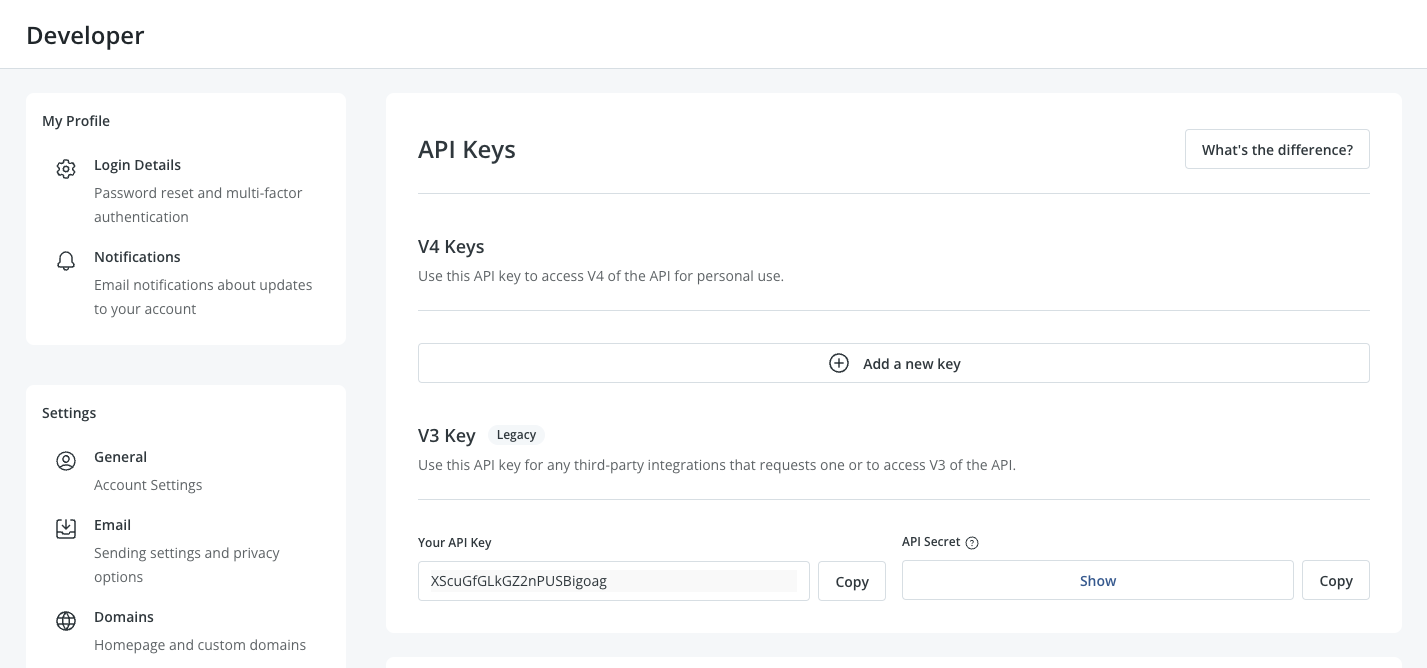
1
Click on Add a new key
2
Give it an internal name
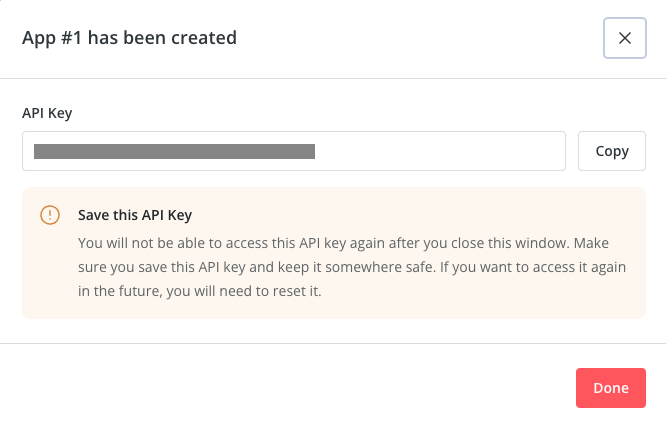
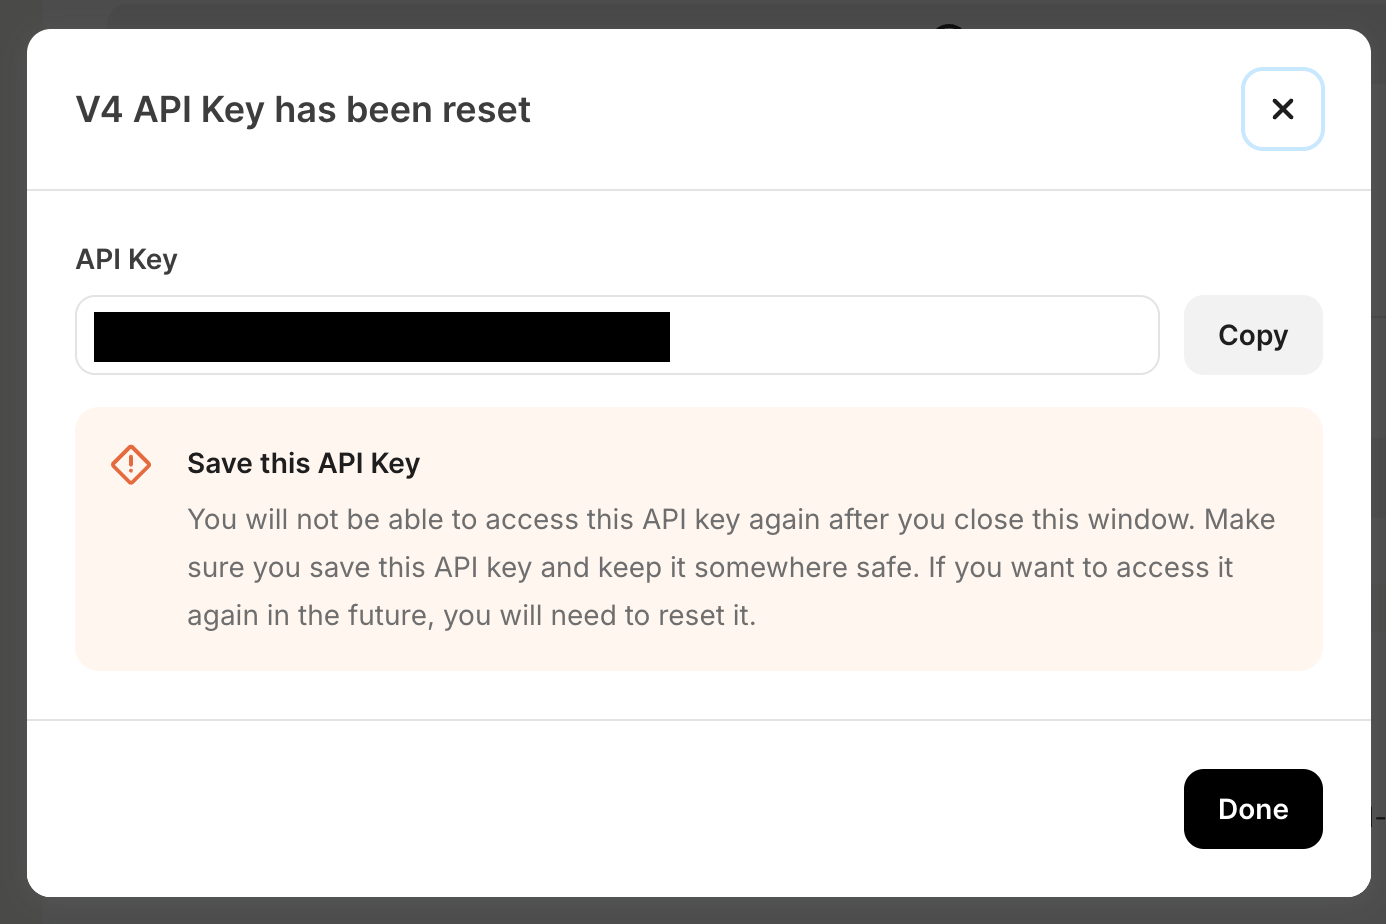
3
Copy and save the API key for future use
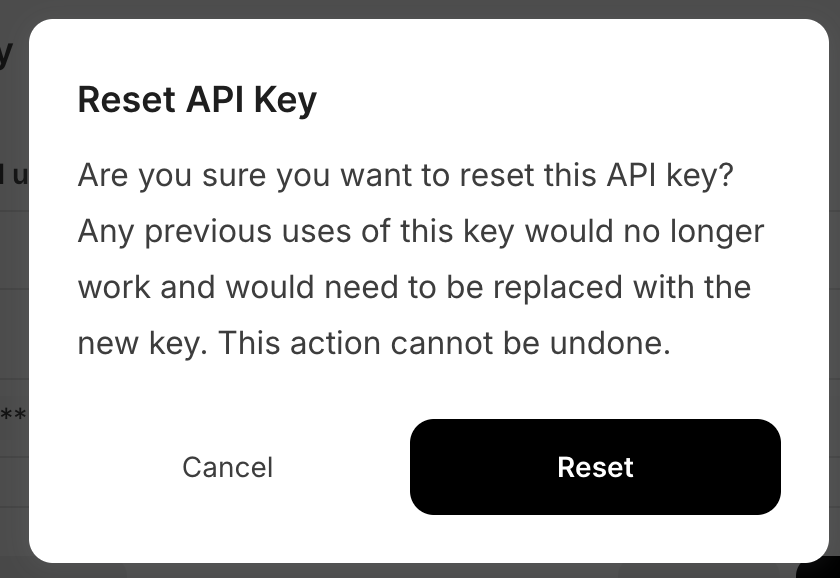
Resetting & deleting V4 API keys
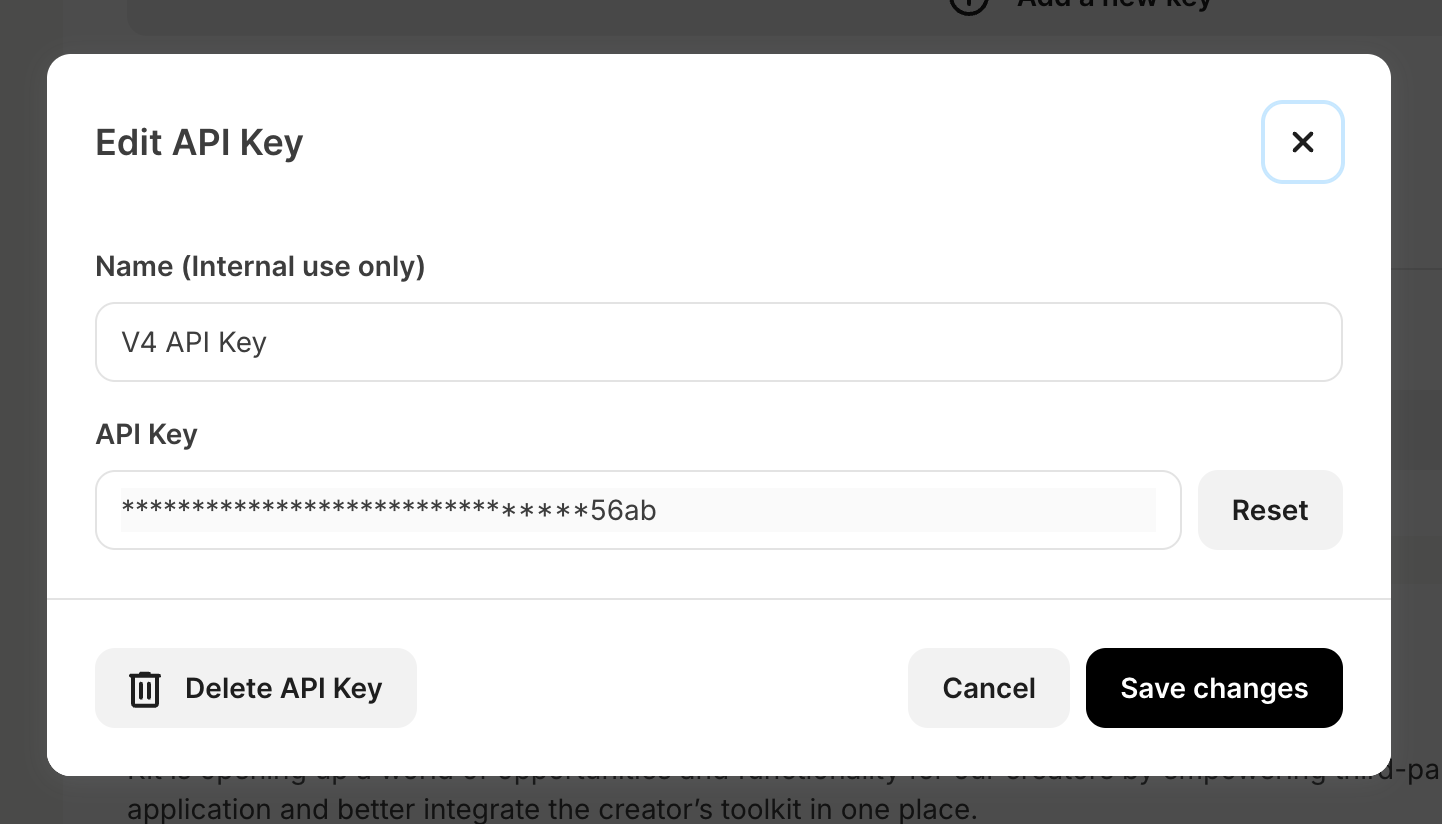
If you have misplaced your API key, you will not be able to retrieve it again and will instead have to reset it from within your “Developer” settings. To reset your key, first click on the “Edit” button on the key you want to update: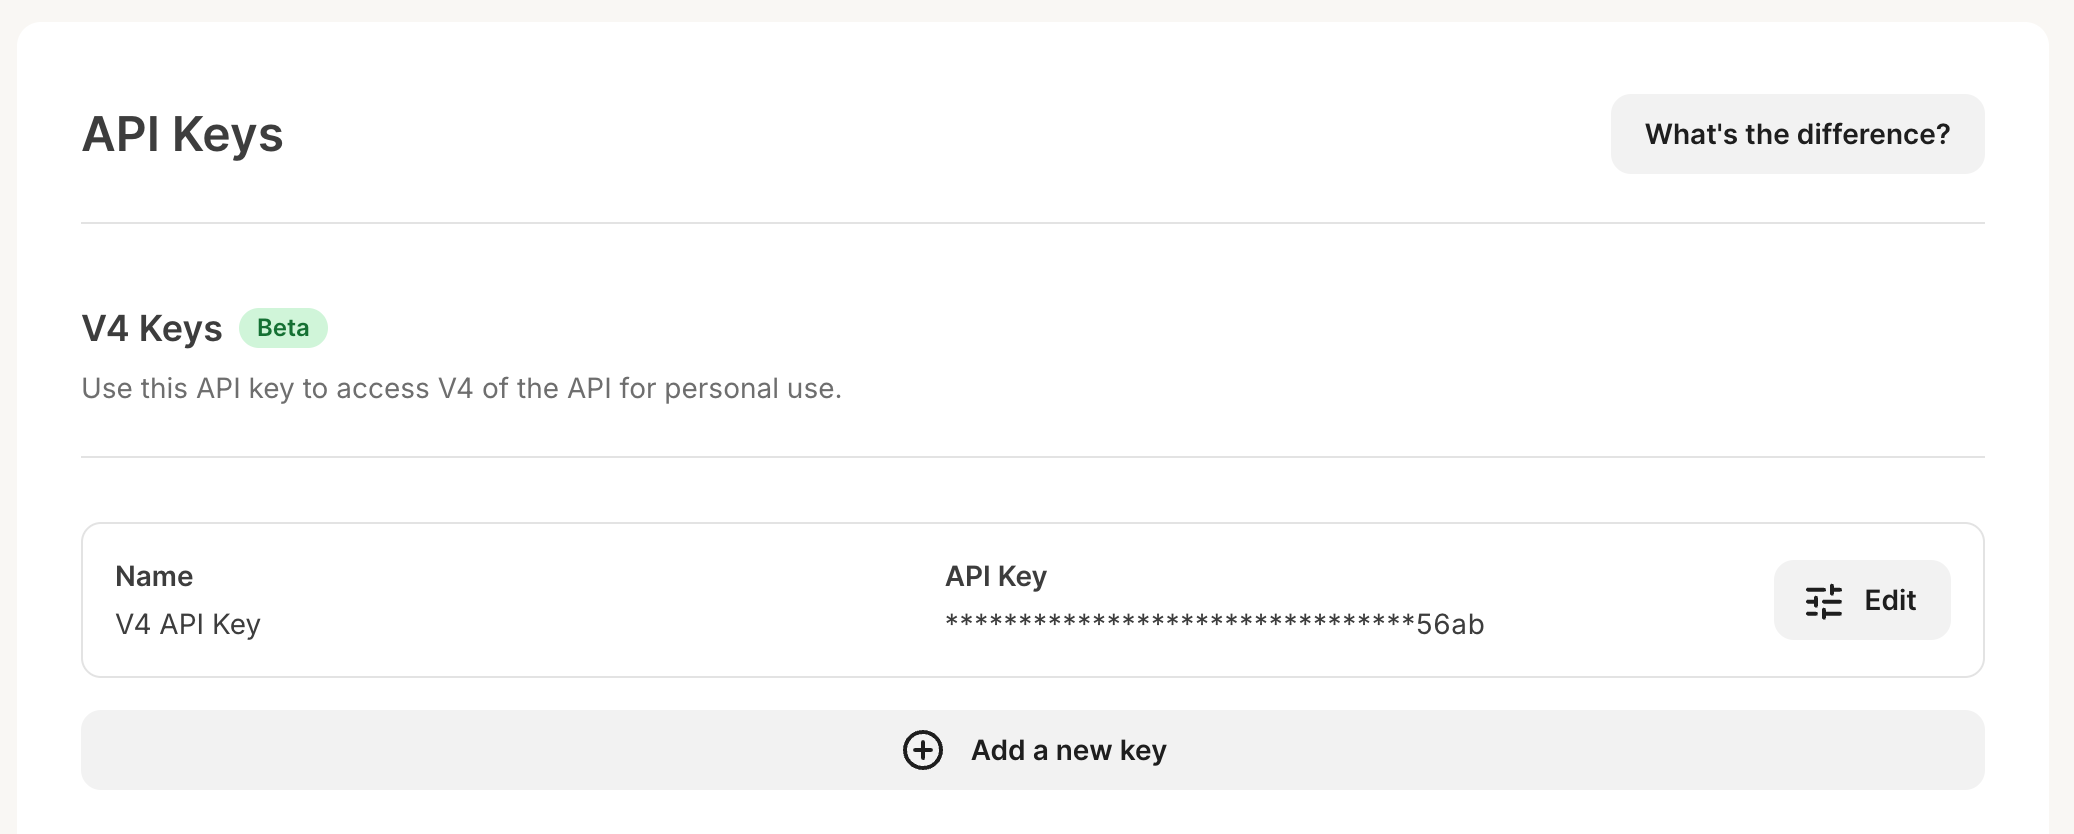
Deleting V4 API keys
If you ever no longer need an API Key, you can also delete it by editing the API Key, and click on “Delete API Key”.Using V4 API keys
To use V4 API key authentication, pass the key alongside aX-Kit-Api-Key header when making requests.
For example, the following request will return your account information: