Example for adding an event node
Example for adding an event node
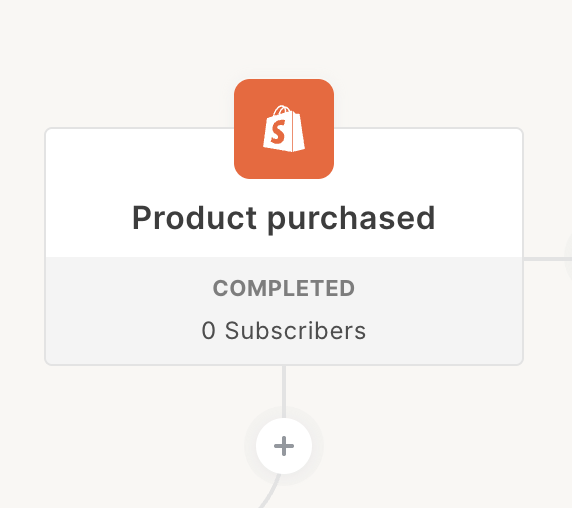
This product purchased example shows an event node that is configured with a
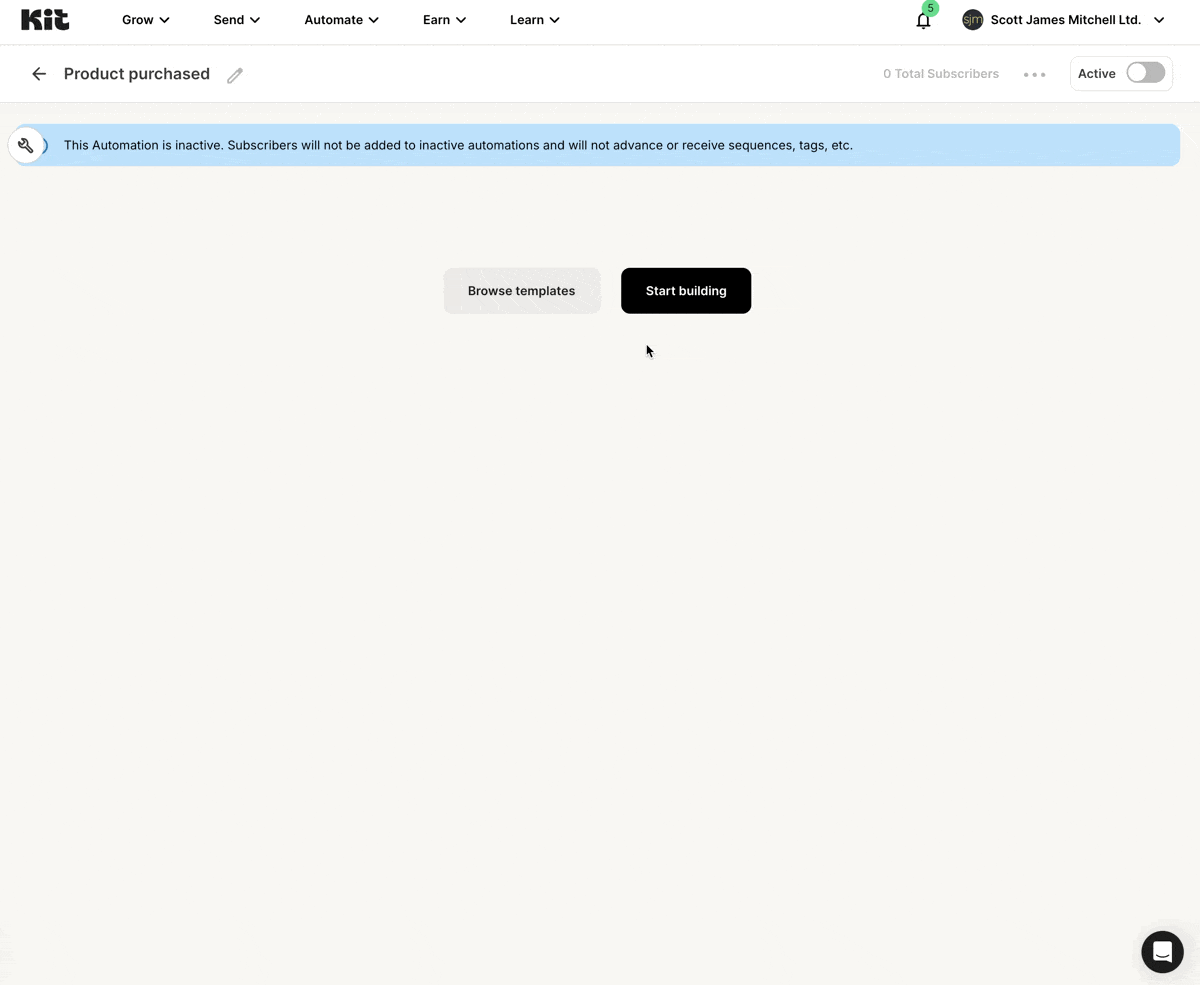
select input, followed by a dependent search input, allowing a creator
to filter which products the event node fires for:Example for adding an action node
Example for adding an action node
This bare bones example shows how a creator selects an action node plugin.
Name
The pluginname is the user-facing name for your node. In the automation node insertion menu example above, “Product purchased” is a name. It will appear in the editor’s node menu, and also in the breadcrumbs at the top of the configuration form when your node is selected. Your name should be short, ideally one or two words.
Description
Thedescription is a short phrase describing your node.
Sort order
If you offer multiple nodes, thesort order determines their placement.
Icon
Theicon is an image for the node, displayed in a box above the plugin’s name. As the box is color-coded automatically, based on the node type, a monochrome SVG is highly recommended. PNG, GIF, JPEG extensions are also supported. The aspect ratio should be 1:1.
Request URL
TheRequest URL is the URL of an endpoint on your server that we will poll to trigger the automation node effects. The returned data will be unique based on the type of automation node created.
Event node request URL
Event node request URL
For events, the Which represents the following structure:Your endpoint should return a cursor-paginated array of events containing subscriber information. Each event may also include an optional If you’ve encountered an error, return an object containing an
request url returns a paginated array of events containing subscriber information. This endpoint’s job is to return subscribers who have experienced the configured event since the provided timestamp so Kit can progress them through the automation.You’ll return these events based on the settings you’ve defined for your node (outlined in the plugin settings page). We’ll make a GET request to your Request URL approximately every 5 minutes. The request will contain a settings object with the user’s selected values for each of your settings and a timestamp to return events that occurred after.We also include some pagination params—before and after cursors as well as per_page to control the page size and how many events can be returned. We will reject responses larger than our requested page size.All parameters are sent as query string parameters:context object — the data you attach here is what creators can later reference in Liquid (in sequence emails and button URLs), pull into a dynamic content block, or receive on a downstream action plugin’s request payload. See Event context below.errors array of strings. You may add as many errors to this array as you’d like:Action node request URL
Action node request URL
For actions, the Each subscriber may include an optional If you’ve encountered an error, return an object containing an
request url returns an object with successes and failures that are each an array of actions containing subscriber information. This endpoint’s job is to return subscribers that the app has acted upon so Kit can progress them through the automation.You’ll return these actions based on the settings you’ve defined for your node (outlined in the plugin settings page). We’ll make a POST request to your Request URL when subscribers move through a creator’s automation (at most every 5 minutes). The request will contain a settings object with the user’s selected values for each of your settings and an array of subscribers for the app to act on.We do not include pagination params since we are providing the app server with subscribers. The response should never contain more subscribers than what was provided in the request.context object containing the accumulated VA event context for that subscriber, keyed as context.apps.<app_identifier>.<event_node_identifier>.*. Subscribers with no stored context omit the key. See Receiving VA context on action payloads below.Your endpoint should return an object with 2 arrays of actions containing subscriber information. One for successes and one for failures:errors array of strings. You may add as many errors to this array as you’d like:Settings JSON
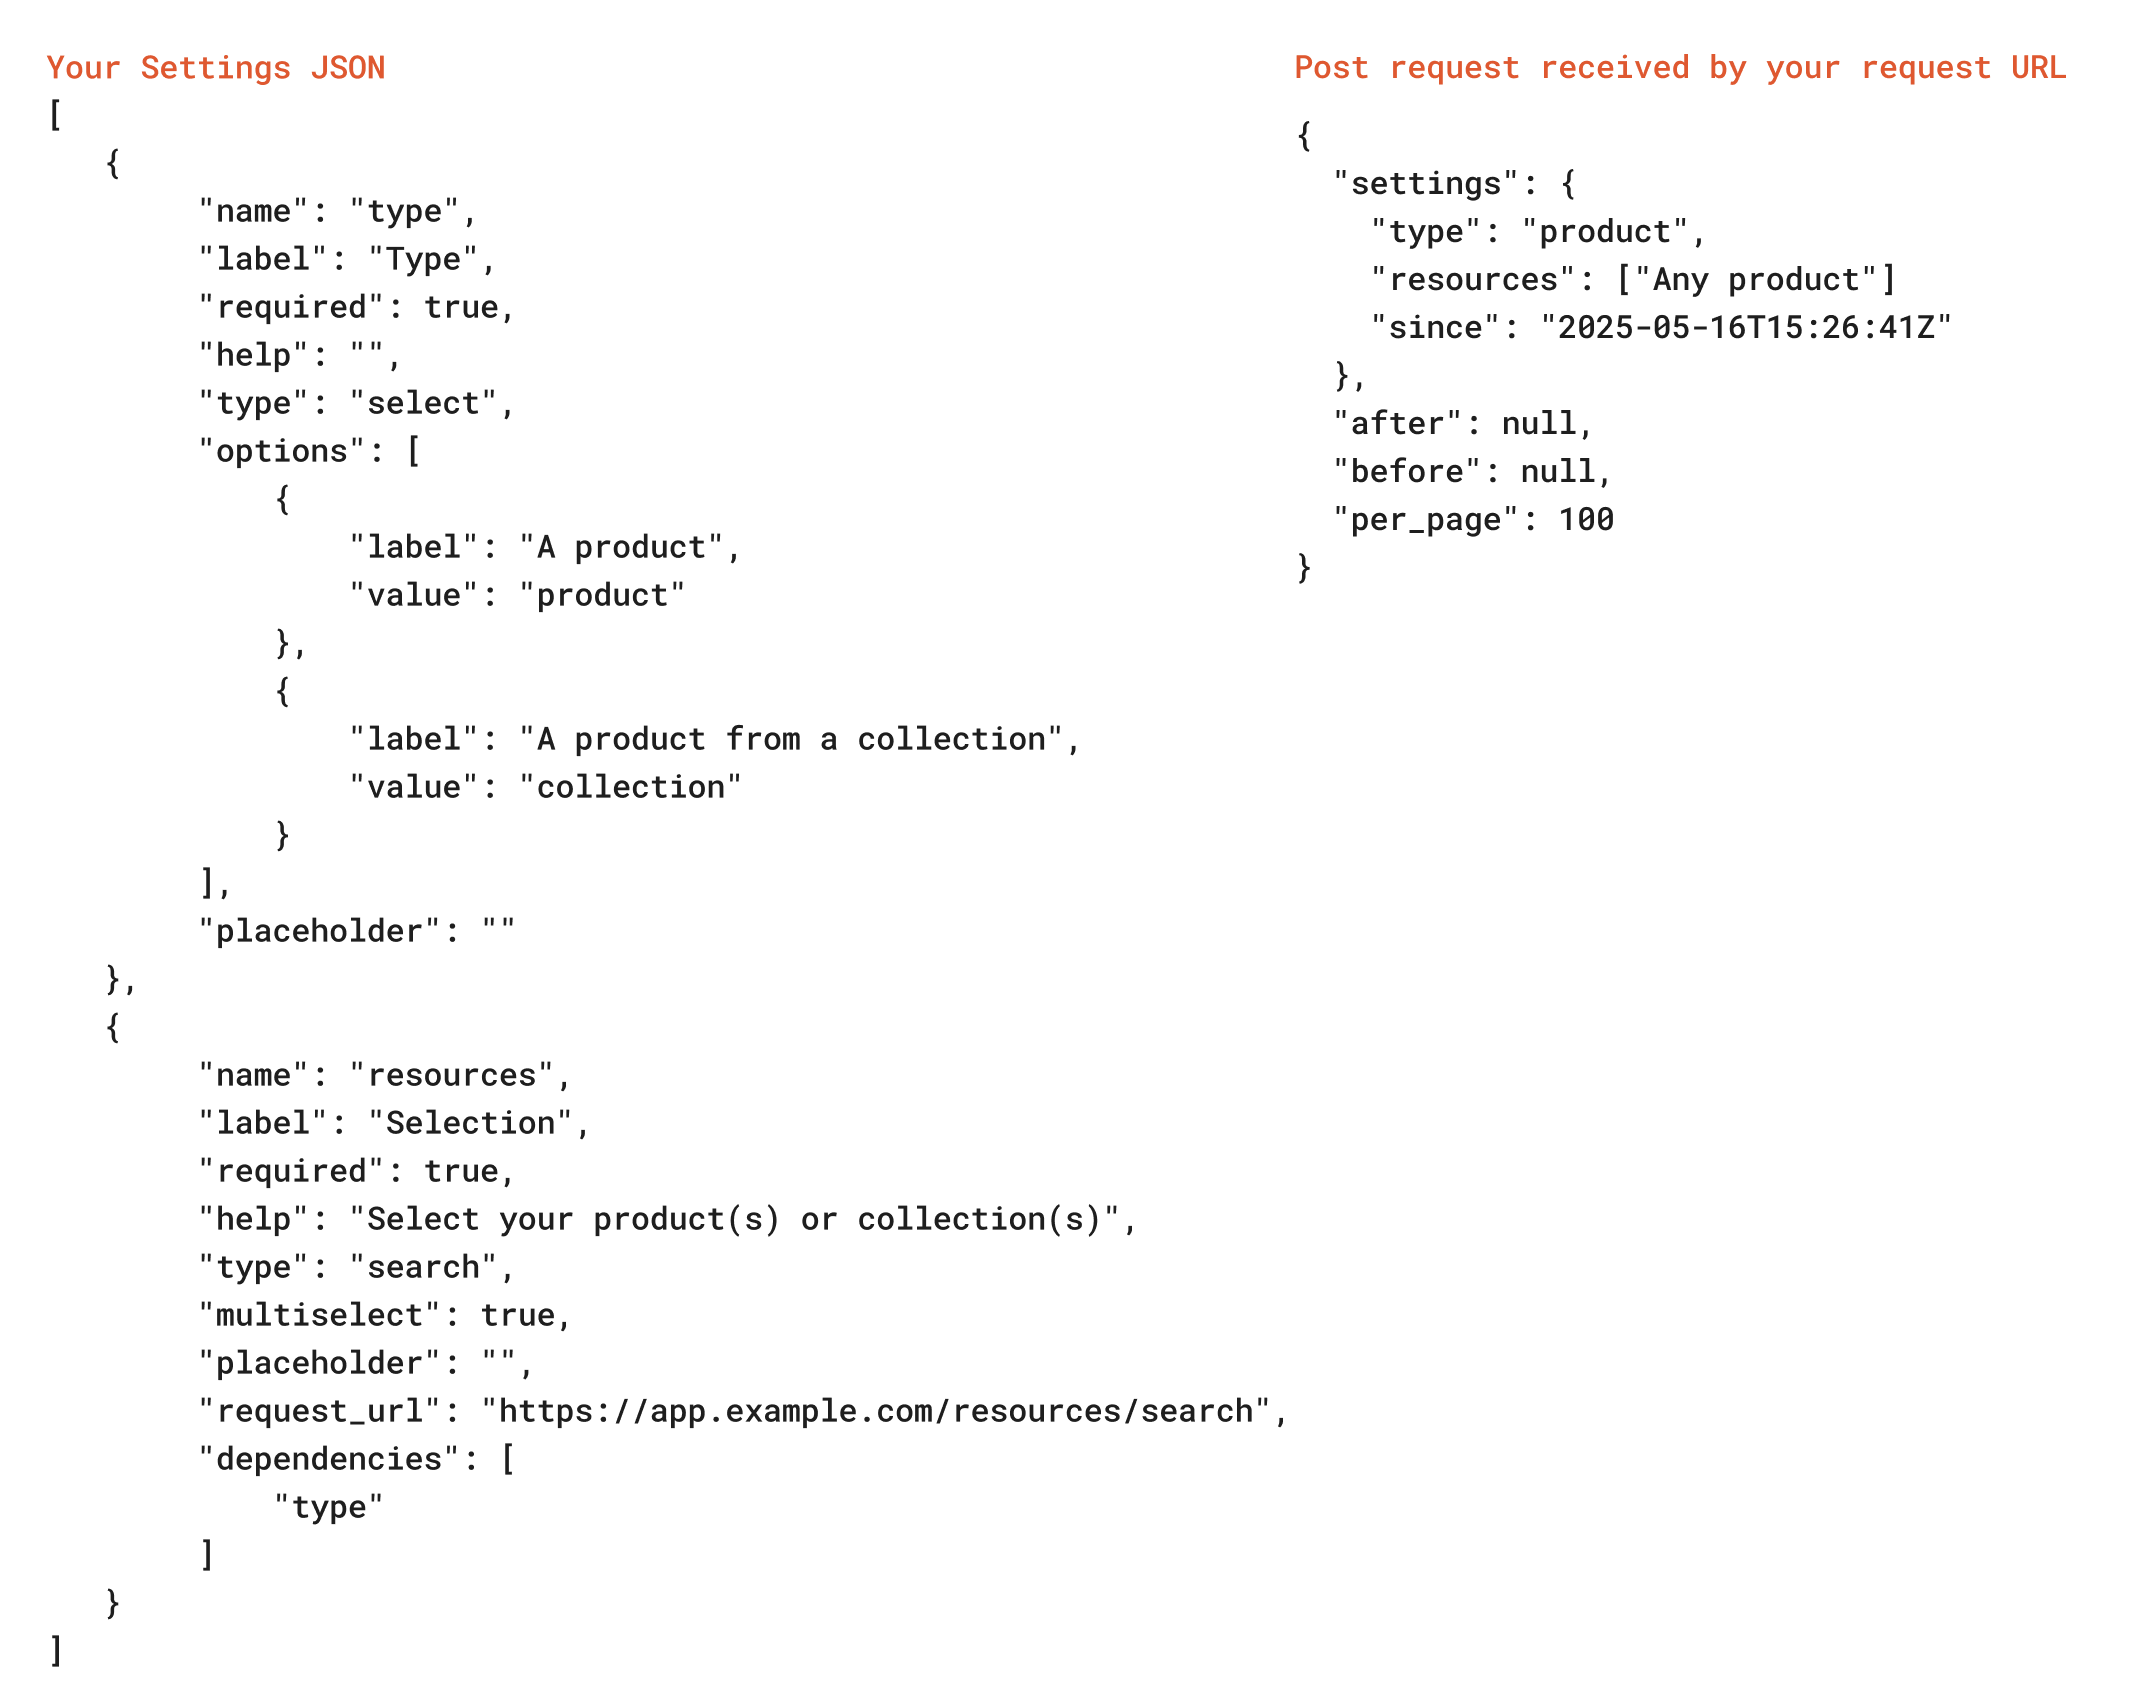
This field allows you to configure the creator-facing settings for your node. It should be an array of objects; one object for each setting. For example, this would be the JSON configuration for a plugin with two settings: “Type” and a dynamic “Selection” field, dependent on “Type”.type determines the UI rendered (such as a text input or a select dropdown); all available options are listed under the plugin settings page.
The name for each setting is used as the key in your events request:
Event context
Event plugins can attach an optionalcontext object to each event returned from request URL. Kit stores this object per subscriber and exposes it elsewhere in the platform:
- In sequence email Liquid (body, button URLs, links) as
{{ automation.<app_identifier>.<event_node_identifier>.* }}. - In dynamic content blocks that link to this event via the Related event node selector on the content block plugin’s settings.
- On the request body of any downstream action plugin in the same VA, under
subscribers[].context.apps.*— see below.
Configure the sample data
On the event plugin’s form in Developer Space, paste a JSON example into the Sample data field on the Context card. The top-level keys define the field names creators can reference in Liquid, and the nested values are used to render the editor preview for any dynamic content block linked to this event:Provide the runtime context
At runtime, attach acontext object to each event in your fetch_events response — see the Event node request URL example above. The shape should match the sample data you configured. Events without a context key are still progressed; subscribers simply won’t have stored context for that event.
Size limits
Kit applies the following limits to per-subscriber context to protect the send and outbound action pipelines:| Limit | Value |
|---|---|
Bytes per single event’s context | 64 KB |
| Total bytes per subscriber’s stored context | 64 KB |
| Distinct app namespaces per subscriber | 32 |
| Keys per app namespace (events × top-level fields) | 64 |
Receiving VA context on action payloads
When a subscriber reaches your action plugin, Kit includes the accumulated VA context for that subscriber in the request body undersubscribers[].context:
context.apps.<app_identifier>.<event_node_identifier>.*— the same context shape your event plugins (or other apps’ event plugins) attached upstream in the VA.- The key is omitted for subscribers with no stored context (not
context: {}). - The payload change is purely additive — existing actions that ignore
contextcontinue to work unchanged.