- Creating your plugins
- Configuring plugin authentication
- Testing your plugins
- Activating your plugins
- Managing your existing plugins
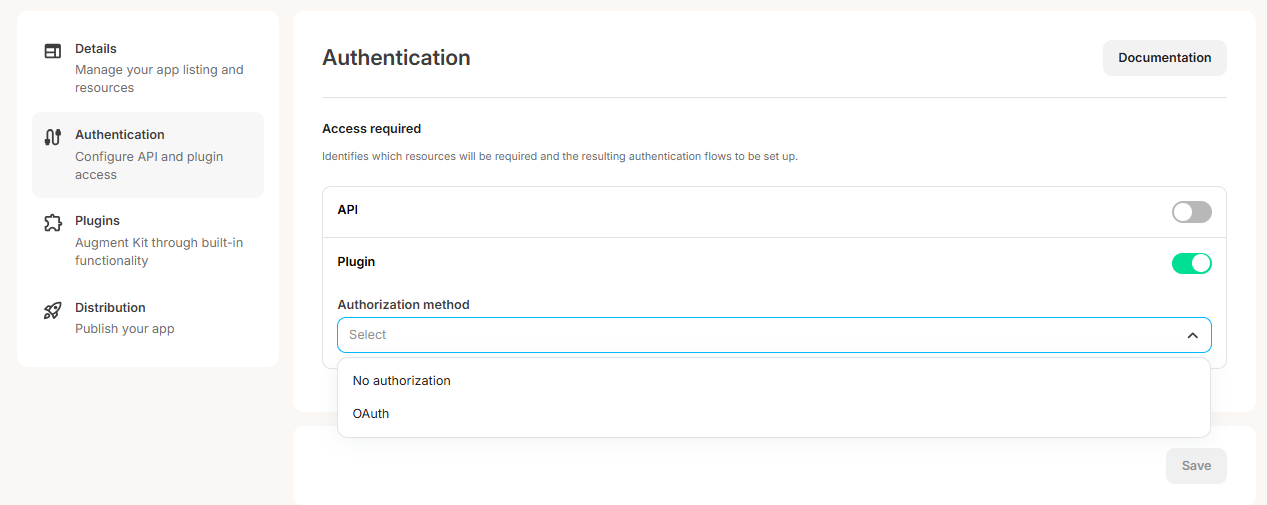
Configuring plugin authentication
Before you can start creating plugins, you need to select and set up your authorization strategy for your plugins to let Kit know how to fetch the content needed to let creators use your apps. We currently offer 2 options:OAuth
OAuth
If you require linking of third-party accounts or are sharing sensitive information, we currently only support OAuth authentication. This option will likely be the default for most applications, needing to pull data from a third-party account for the creator in a vast number of use cases. More details on OAuth authorization for plugins can be found in the dedicated OAuth guide.
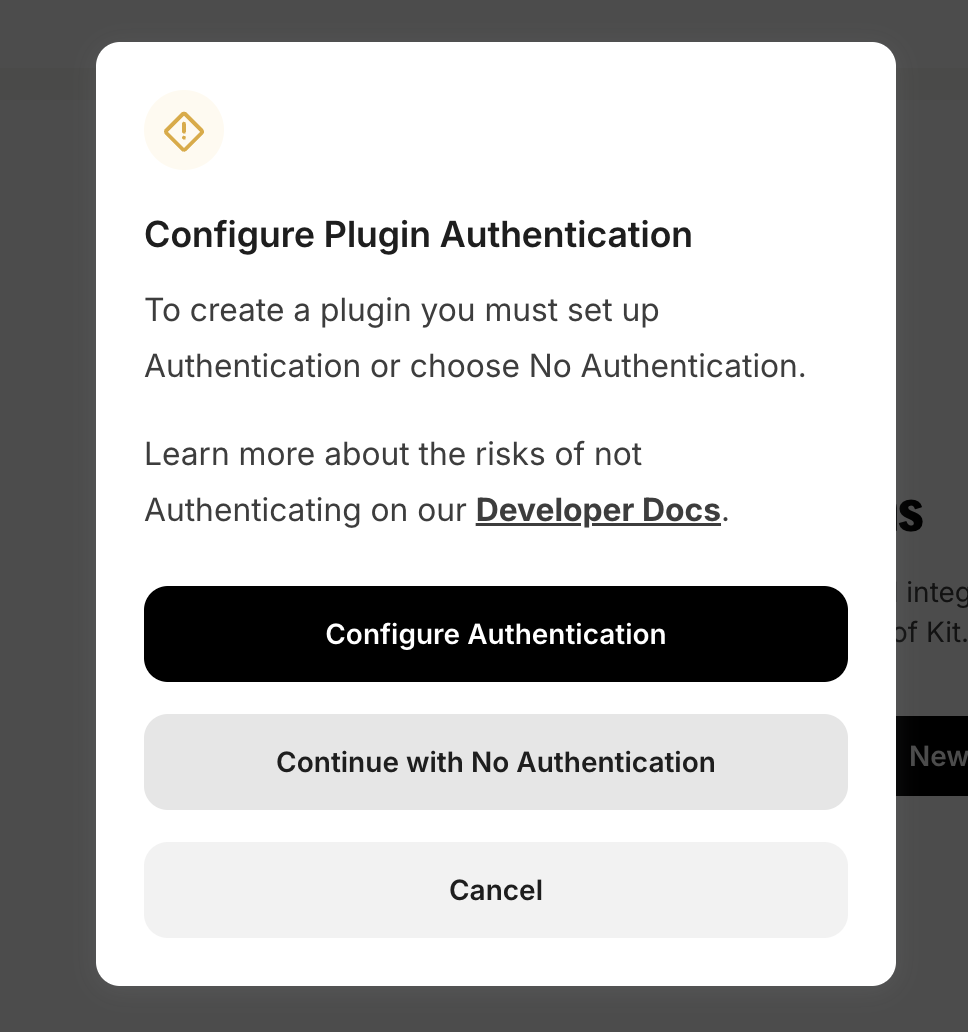
- “Continue without authentication” sets your strategy to “No authorization”, or
- “Configure Authentication” takes you to the Authentication tab to set this up
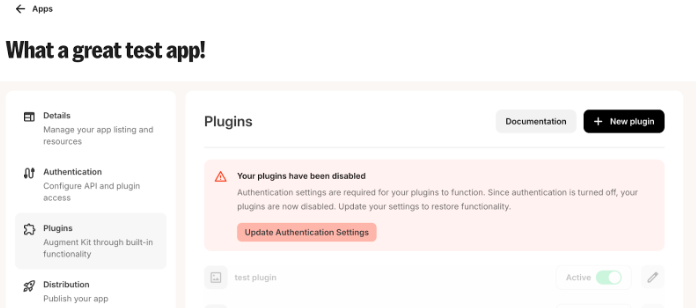
If you disable plugin authentication on the Authentication tab, you’ll see a warning when you return to the Plugins tab. This warning indicates that you need to update authentication settings before your plugins can be active. Click the prompt to go directly to the Authentication tab and make the necessary changes.
Create a new plugin
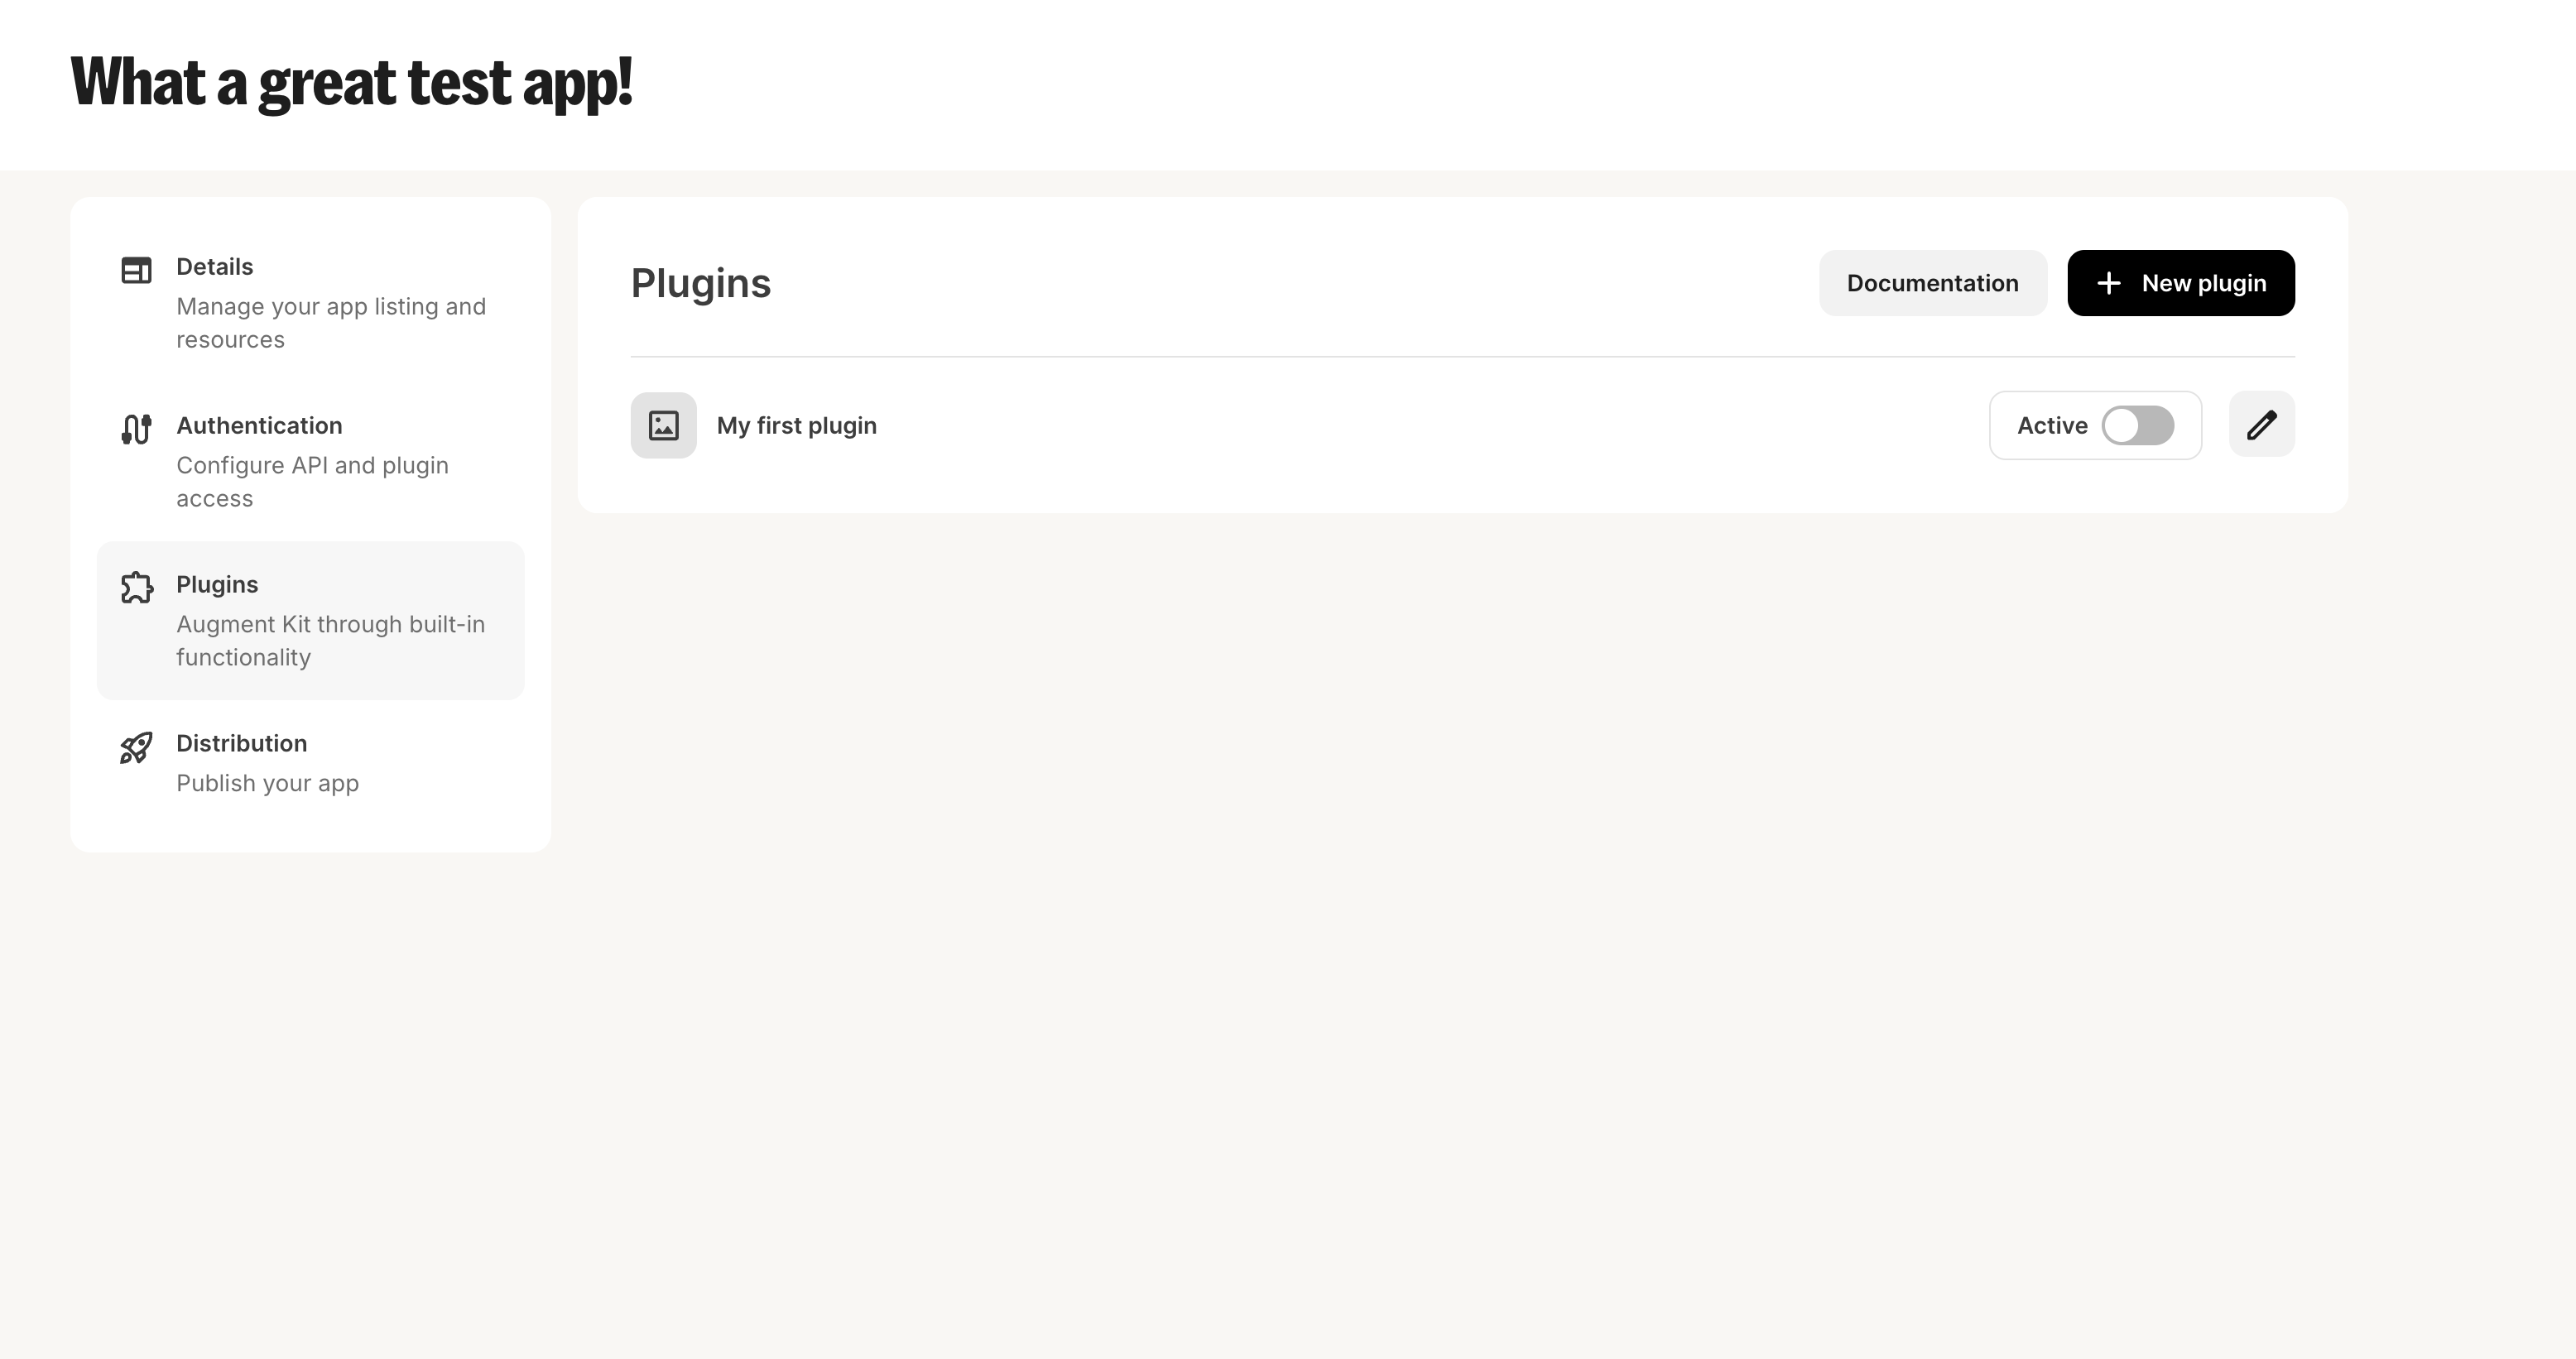
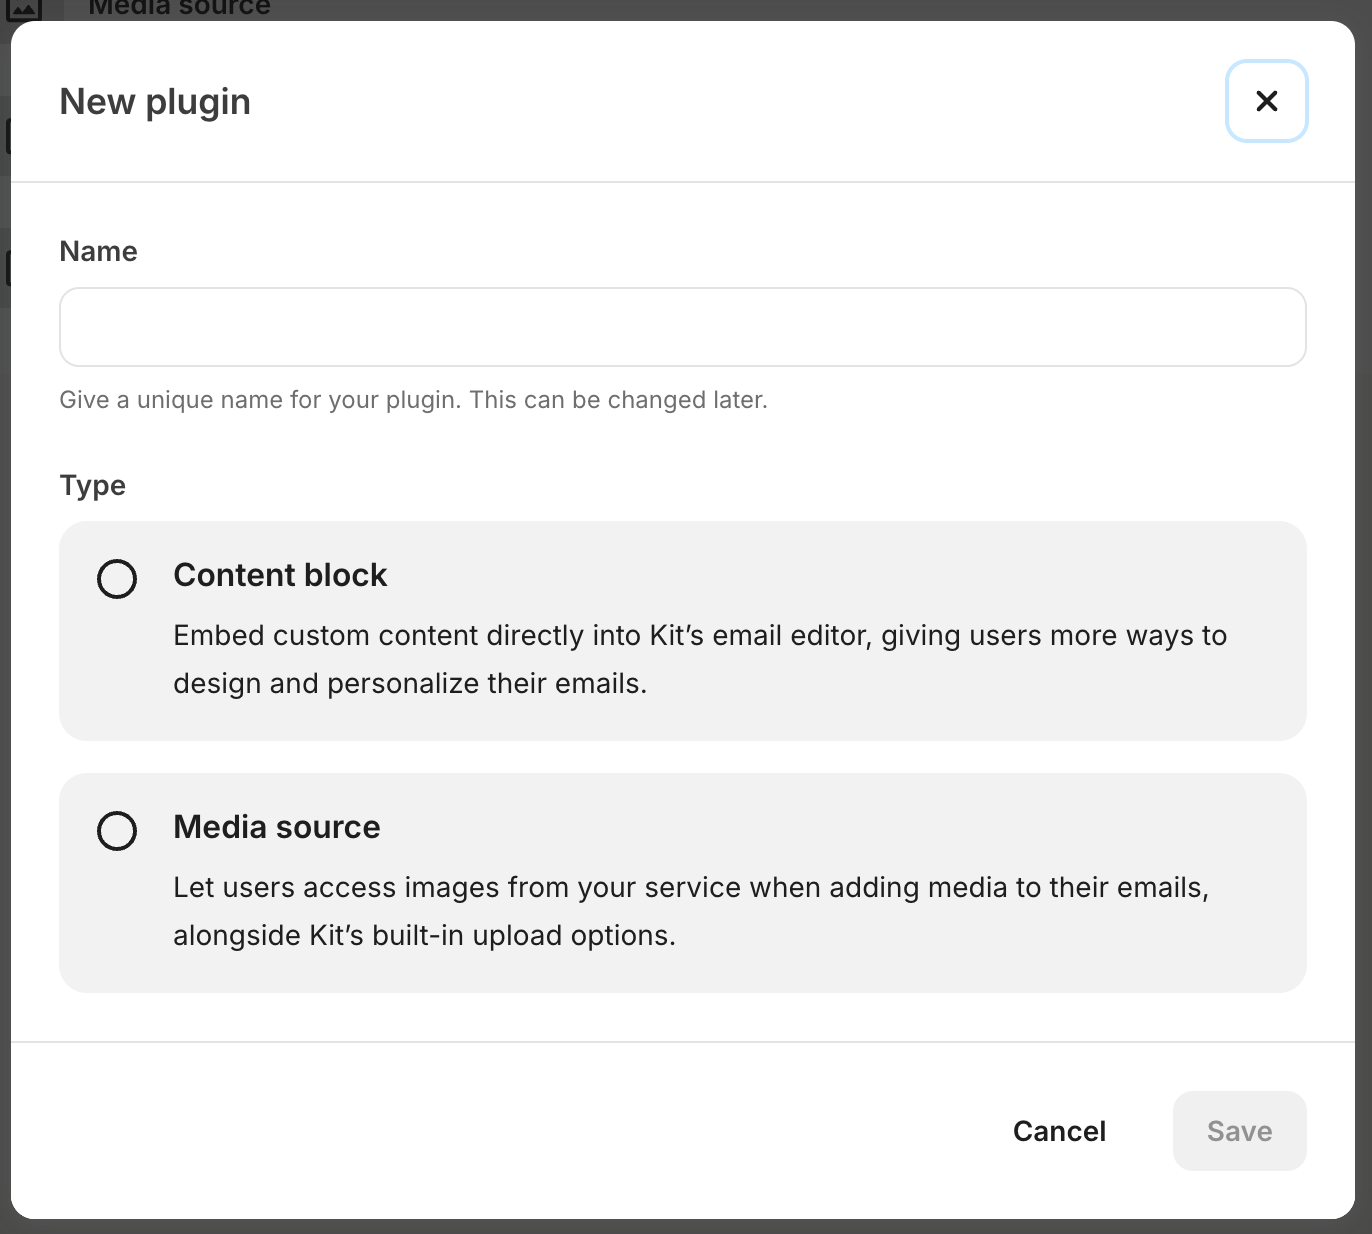
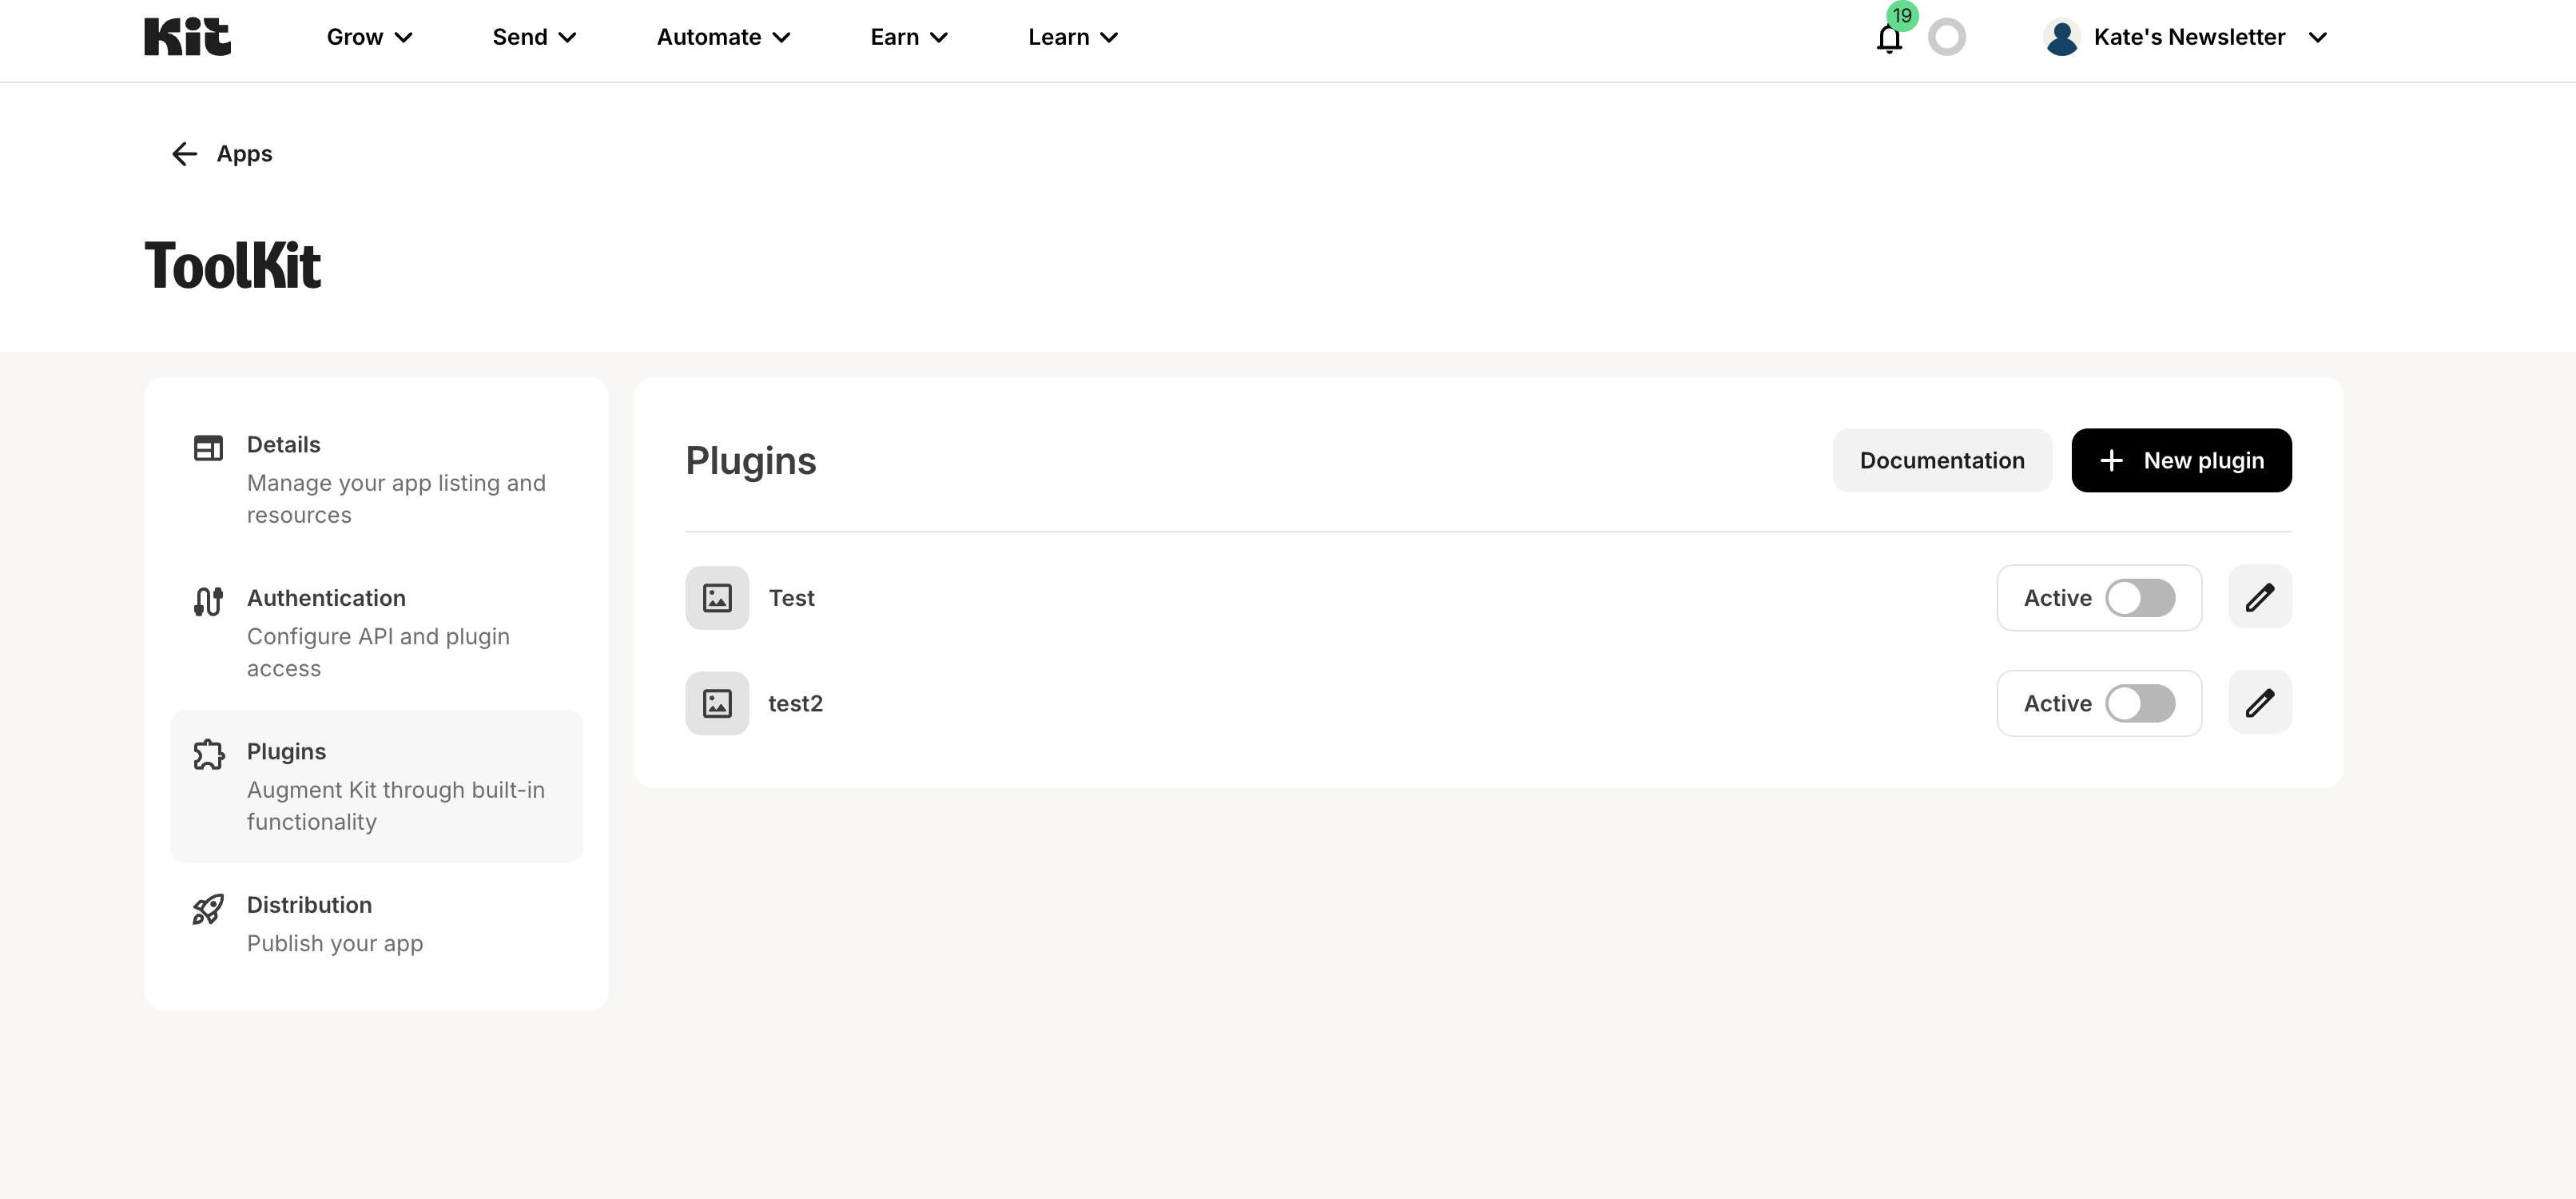
Once you have selected your authentication method, you’ll be able to create your first plugin! To do this, click on the “Plugins” tab in the sidebar menu when editing your app. When here, click on the ”+ New plugin” button to start the process.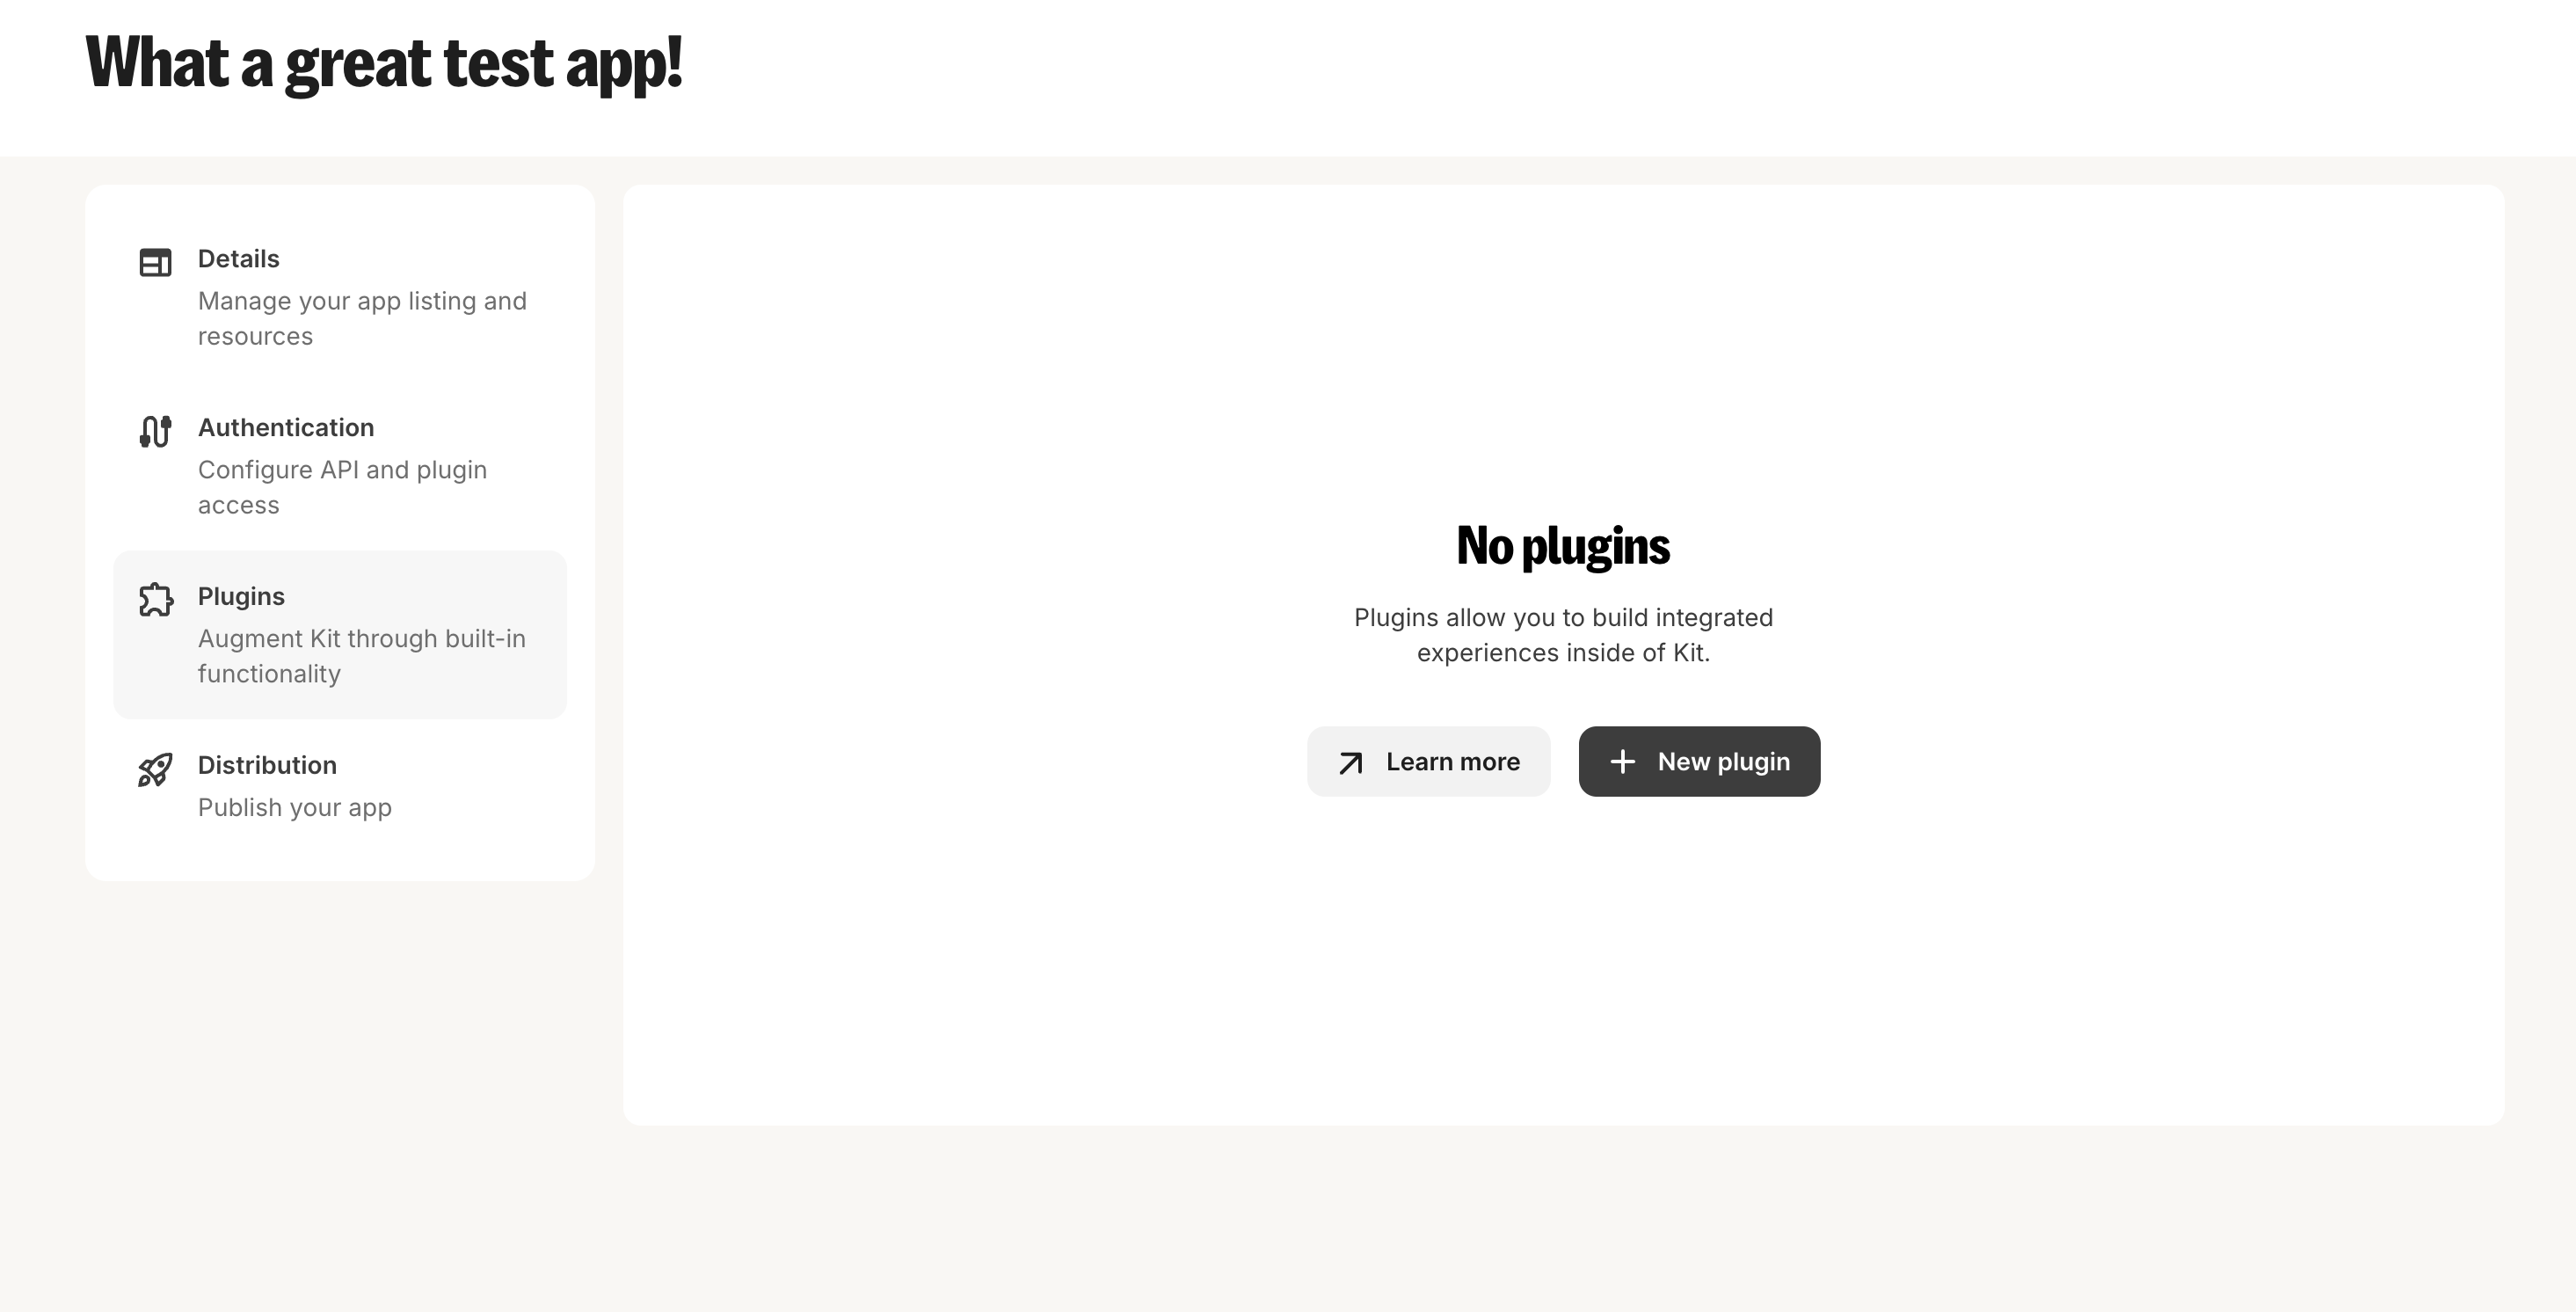
If this is your second app, the ”+ New plugin” button will be located to the right of the Plugin title:
Example plugin configuration for content blocks
Example plugin configuration for content blocks
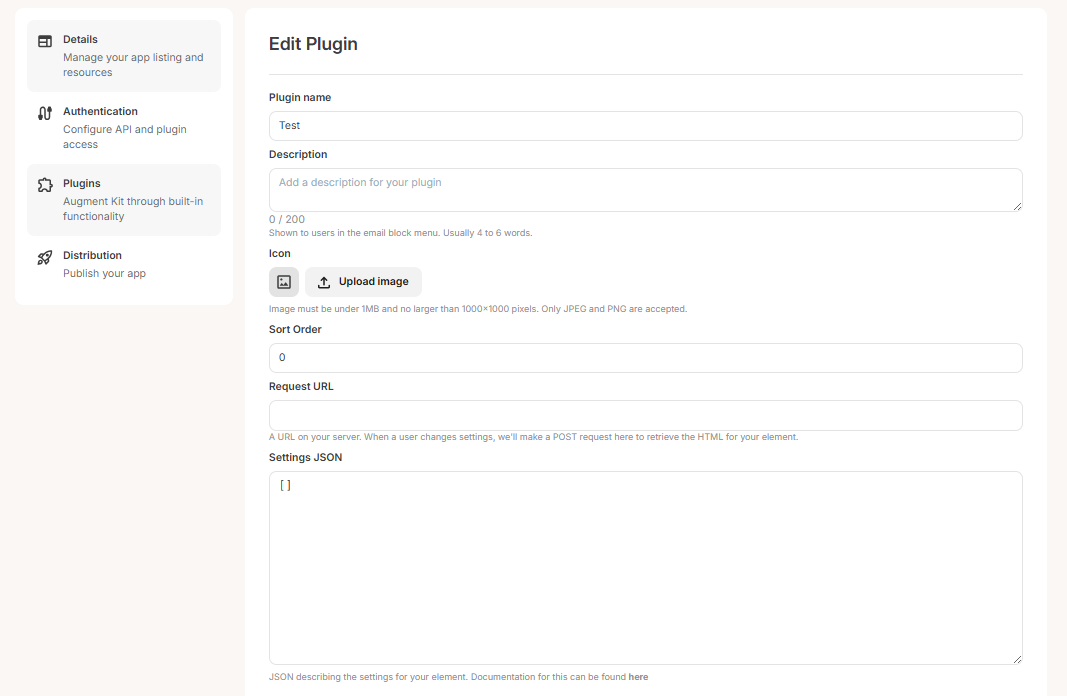
Details on the JSON required to set plugins up can be found in the plugin configuration documentation for the respective plugin environment.
Testing your plugins
So that new plugins can be tested for apps that have already been published, the developer account for an app is able to see all plugins set up for an app within their account regardless of whether they are active or not. This allows you to utilize your production system and your app authentication to test changes in a live system without worrying about other accounts accessing your plugins before they are ready. If you haven’t yet gone live with your app and you want to envision what your plugins will look like for creators, you can start building out your plugins with public API endpoints and the “no authorization” authentication strategy, allowing you to tweak your content before finalising your OAuth authentication flows.Activating your plugin
When you first create your plugin it will be inactive. While inactive it will only be available to test for your developer account, but once activated, the plugin will be visible to any user who has installed the app.You must install your app from the Kit App Store to see your plugins in the editor. To do this, go to the “Build” tab in the Kit App Store, click on “Preview” and install your app.
 activating-your-plugin
At this point, the plugin will be available for all accounts that have installed your app.
activating-your-plugin
At this point, the plugin will be available for all accounts that have installed your app.
Managing your plugins
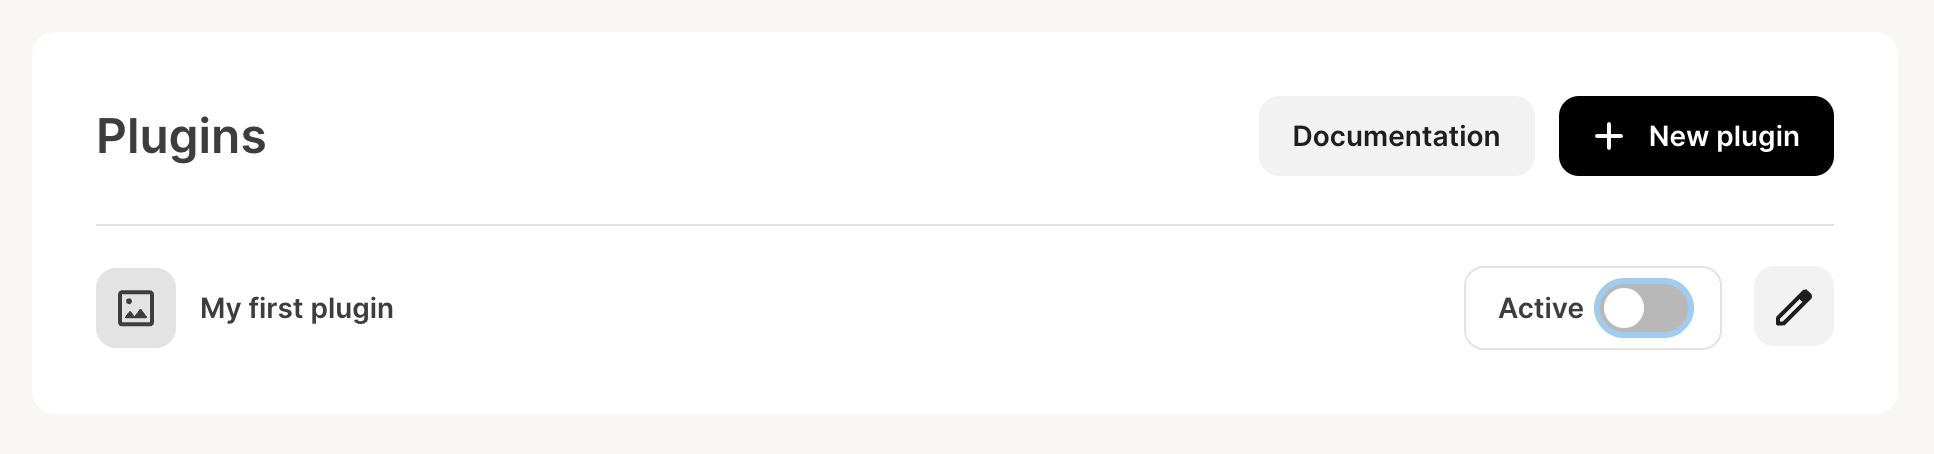
Once you have created plugins within your app, you’ll see your complete plugin list in the “Plugin” tab of your app, with options to:- Activate or deactivate plugins using toggles
- Edit plugin settings
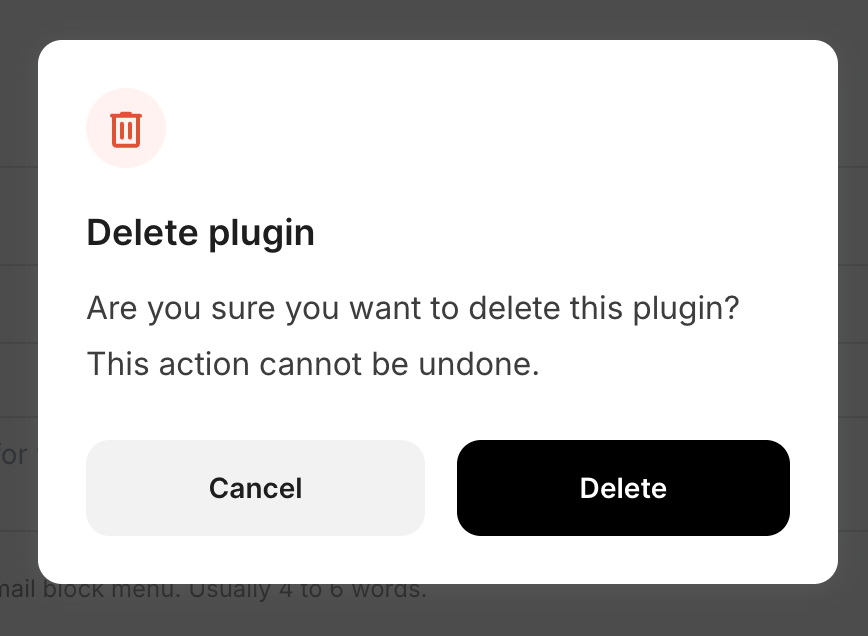
Deleting plugins
You can also delete your unwanted plugins. In order to do this, simply edit the plugin you want to delete, and select theDelete Plugin button in the bottom left corner.

Delete and the plugin will be deleted from the app.
This will stop creators from being able to add new instances of this plugin, but won’t remove previously added instances to reduce the chance of broken content. This will allow creators to make the decision themselves on how they want to manage the plugin - by deleting it from their content or using the last valid state they saw.