> ## Documentation Index
> Fetch the complete documentation index at: https://developers.kit.com/llms.txt
> Use this file to discover all available pages before exploring further.
# Content blocks plugin configuration
> Setting up your content block plugins
Kit's content block plugins let you extend our email editor with custom HTML elements. This guide walks you through configuring your plugin's appearance, behavior, and settings—from naming and visual presentation to backend functionality and user controls.
**Standard vs. dynamic content blocks:** Standard content blocks return the same HTML to every recipient. If you need subscriber-personalized content—such as showing each recipient the items they left in their cart—see [dynamic content blocks](/plugins/content-blocks/dynamic-blocks/overview), which return a Liquid template that Kit renders individually at send time.
## Name
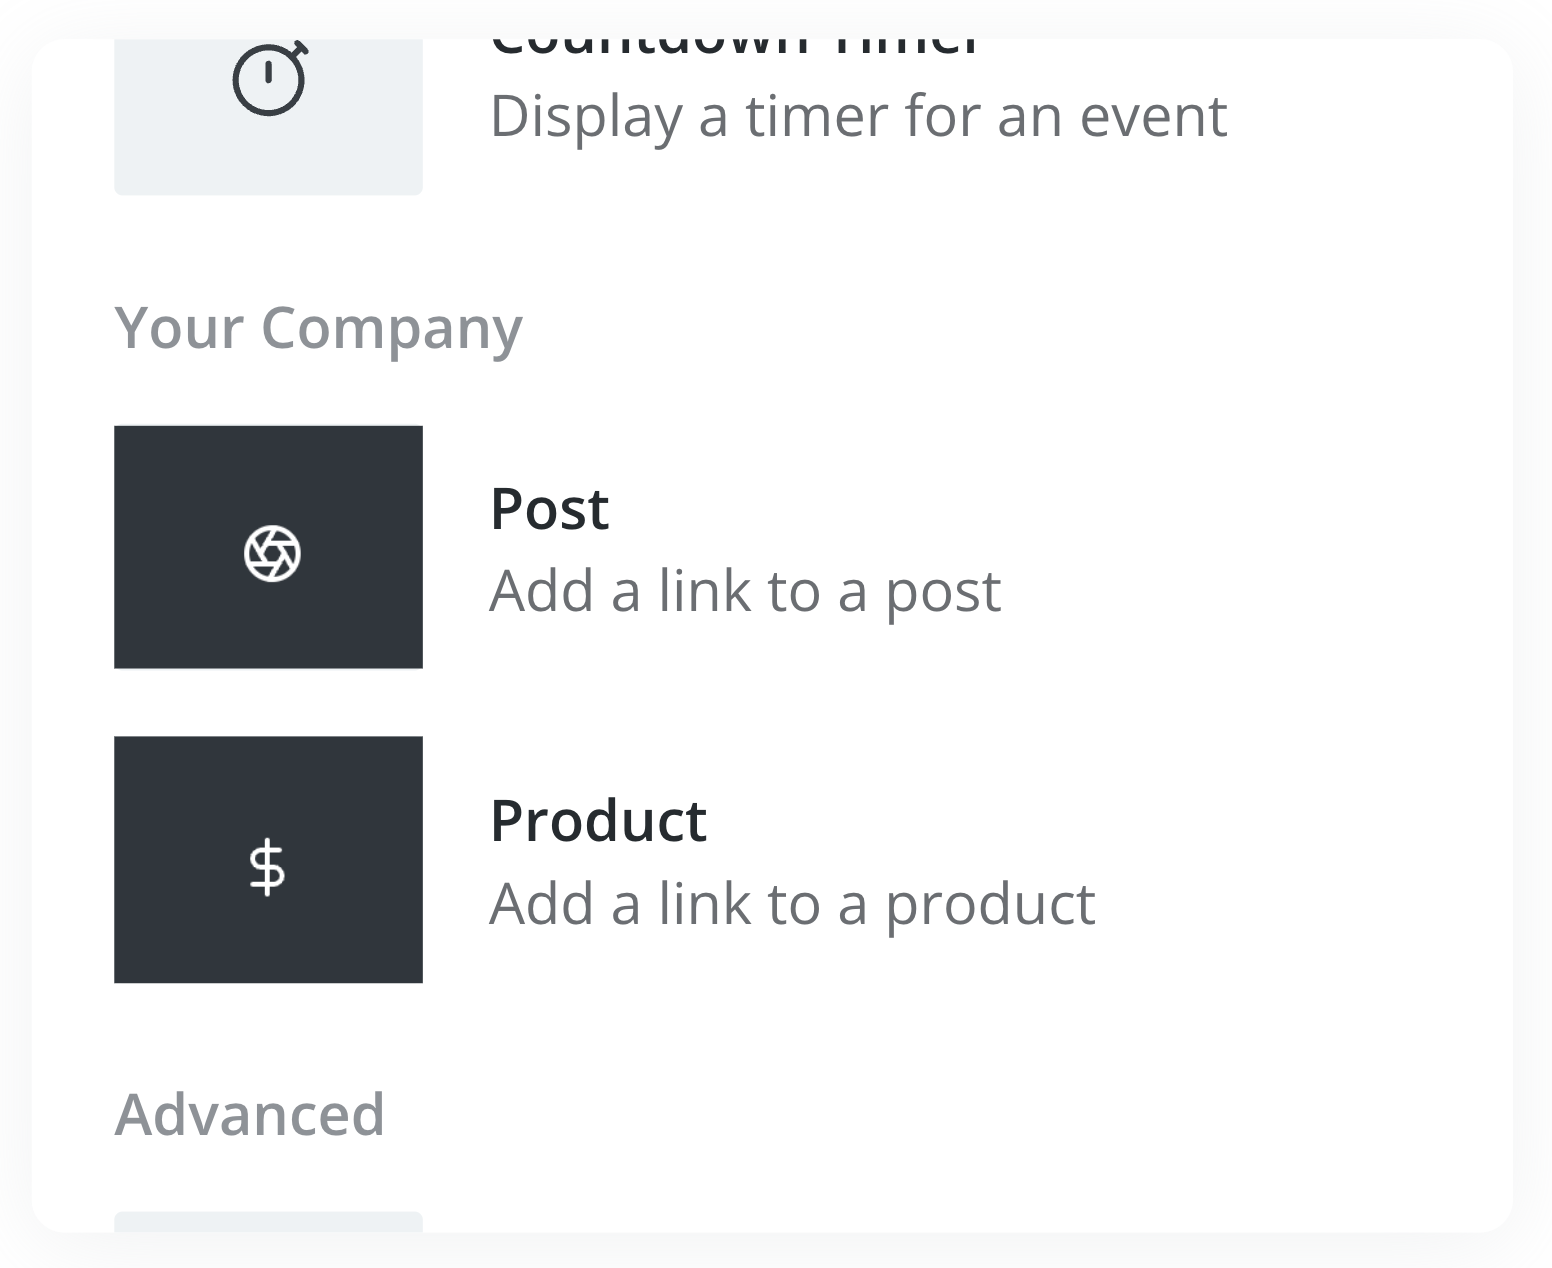
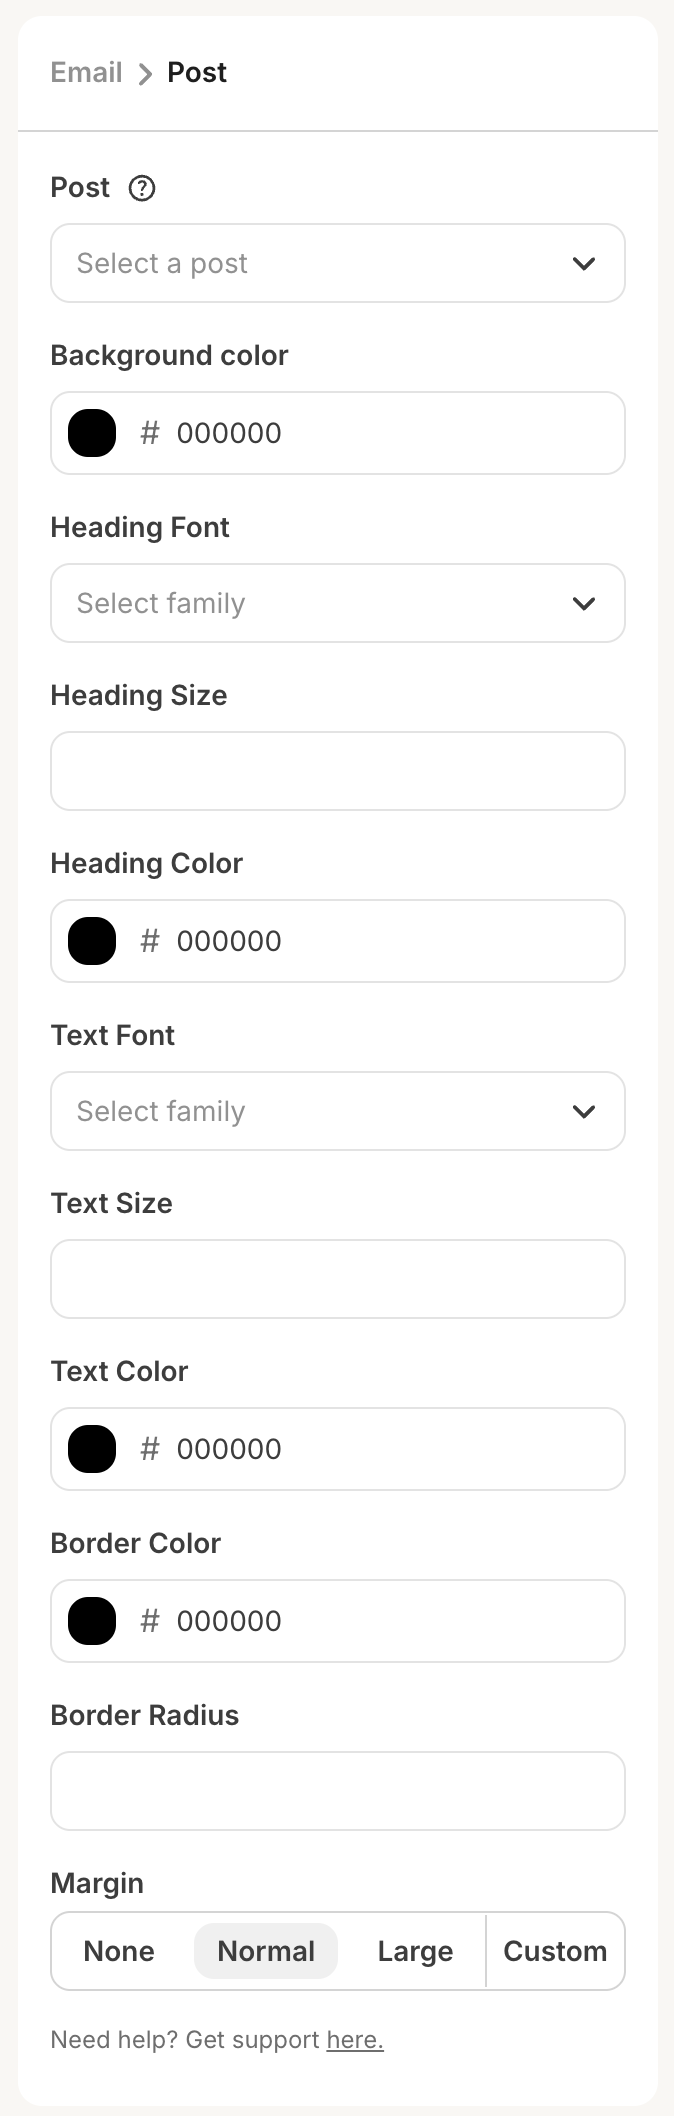
The plugin `name` is the user-facing name for your block. In the content block insertion menu example above, “Post”, and “Product” are `names`. It will appear in the editor’s element menu, and also in the breadcrumbs at the top of the sidebar when your block is selected. Your `name` should be short, ideally one or two words.
## Description
The `description` is a short phrase describing your block. It will appear underneath the name in the element menu. In the example above, “Add a link to a post” and “Add a link to a product”.
## Sort order
If you offer multiple elements, the `sort order` determines their placement. In the example above, “Post” has a `sort order` of `0`, while “Product” has a `sort order` of `1`.
## Icon
The `icon` is an image for the node to be displayed alongside the `name` and the `description`. A monochrome SVG is recommended. PNG, GIF, JPEG extensions are also supported. The recommended size is 150x120px.
## Request URL
The `Request URL` is the URL of an endpoint on your server that returns an HTML string. This endpoint’s job is to generate the HTML for your element to be rendered in the email editor.
You’ll generate this HTML based on the settings you’ve defined for your block (outlined in the [plugin settings page](/plugins/content-blocks/plugin-settings)). Once a user completes all required settings, we’ll make a POST request to your `Request URL`. The request will contain a `settings` object with the user’s selected values for each of your settings:
```json theme={null}
{
"settings": {
// The exact data in this section depends on how you've configured your
// plugin's JSON settings (see next section).
"title": "My title",
"description": "My description"
}
}
```
Your endpoint should return HTML for the element:
```html theme={null}
{{ settings.title }}
{{ settings.description }}
```
Your `Request URL` should respond to this request with a JSON object containing an `html` key:
```json theme={null}
{
"code": 200,
"html": "
...your HTML...
"
}
```
Or, if you've encountered an error, return an object containing an `errors` array of strings. You may add as many errors to this array as you’d like:
```json theme={null}
{
"code": 404,
"errors": ["Plan not found"]
}
```
## Settings JSON
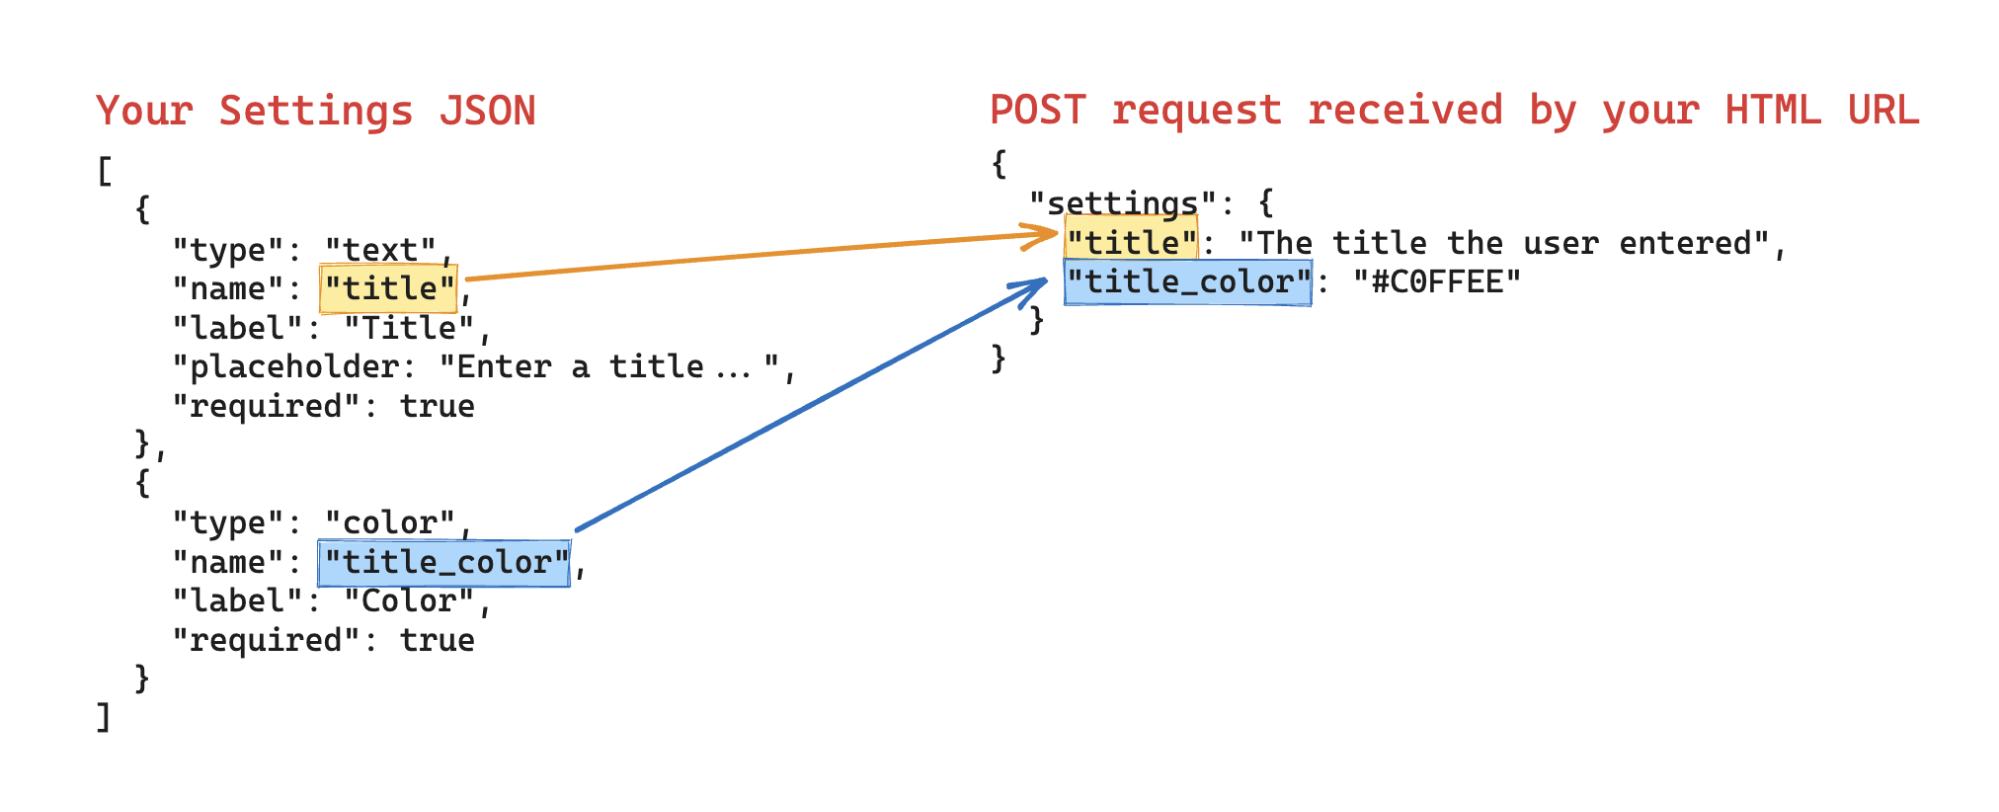
This field allows you to configure the sidebar settings for your element. It should be an array of objects; one object for each setting. For instance, this would be the JSON configuration for a plugin with two settings: “Title” and “Color”.
```json theme={null}
[
{
"type": "text",
"name": "title",
"label": "Title",
"placeholder": "Enter a title...",
"required": true
},
{
"type": "color",
"name": "title_color",
"label": "Color",
"required": true
}
]
```
Each setting’s `type` determines the UI rendered (such as a text input or a color picker); all available options are listed under the [plugin settings page](/plugins/content-blocks/plugin-settings).
The `name` for each setting is used as the key in your HTML request:
When you save your plugin, we’ll validate your JSON settings - which can be pre-emptively validated [using the JSON schema validator linked here](https://www.jsonschemavalidator.net/s/ovDMo04X).
 When you save your plugin, we’ll validate your JSON settings - which can be pre-emptively validated [using the JSON schema validator linked here](https://www.jsonschemavalidator.net/s/ovDMo04X).